

The $1,500 Age-in-Place Plan That Actually Works
Here’s something I tell almost every client who walks through my door: you don’t need to spend $50,000 to make your home safer for the next two or three decades. In my 14 years as a Certified Aging-in-Place Specialist, what I see most often is people either overspending on a full renovation they don’t need yet or—worse—doing nothing at all because they assume the cost is out of reach.
The truth? A focused investment of around $1,500 can address the most critical fall risks, mobility barriers, and daily-living challenges in a typical American home. According to the National Council on Aging, falls are the leading cause of injury-related death among adults 65 and older, and roughly 1 in 4 older Americans falls each year. Most of those falls happen at home, in predictable spots—the bathroom, stairways, cluttered hallways—where relatively inexpensive modifications make an enormous difference.
This guide walks you through a realistic budget to set up your home to age in place without draining your savings. I’ve broken it into the priority zones I assess during every home evaluation, starting with the areas that deliver the biggest safety return per dollar spent.
Start Where Falls Start: The Bathroom ($400–$550)
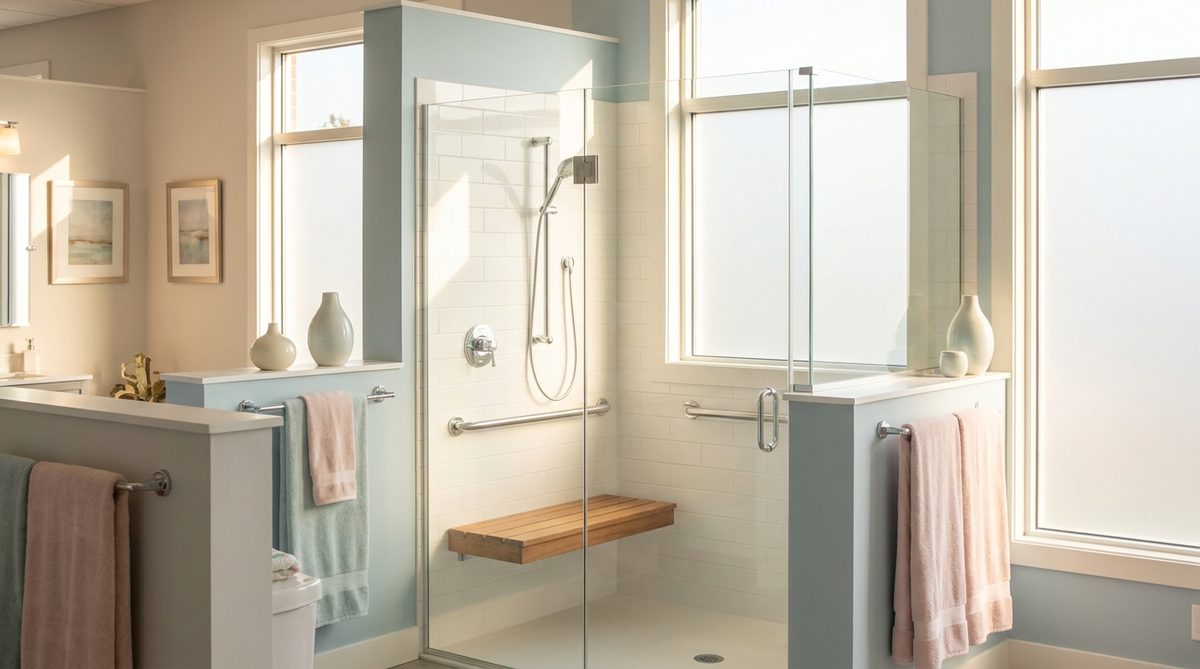
If you only have a few hundred dollars to spend, spend it here. The bathroom is the single most dangerous room in the house for adults over 50. Wet surfaces, awkward transitions in and out of the tub, and poor lighting create a perfect storm for falls.
Grab Bars (Not Towel Bars)
I can’t stress this enough—a towel bar is not a grab bar. Towel bars are anchored into drywall and can pull right out under body weight. ADA-compliant stainless steel grab bars, properly secured into wall studs, cost between $20 and $50 each. I recommend installing at least three: one vertical bar at the tub or shower entry, one horizontal bar along the shower wall at about 34 inches from the floor, and one beside the toilet.
Professional installation runs about $50–$75 per bar if you’re not comfortable doing it yourself. Total for three bars installed: roughly $150–$225.
Non-Slip Surfaces and a Handheld Showerhead
Adhesive non-slip strips for the tub or shower floor cost under $15 and take five minutes to apply. A handheld showerhead on a slide bar—so you can shower seated if needed—runs $30–$80 and replaces your existing showerhead with basic tools. Add a sturdy shower bench or transfer seat for $40–$80.
A raised toilet seat with armrests ($35–$60) is another smart addition, especially for anyone with hip or knee issues. These are the modifications I prioritize before anything cosmetic.
- 3 grab bars (installed): $150–$225
- Non-slip strips: $10–$15
- Handheld showerhead: $30–$80
- Shower bench: $40–$80
- Raised toilet seat: $35–$60
- Bathroom subtotal: $265–$460
Lighting That Prevents Trips ($100–$200)
Poor lighting is the invisible hazard I find in nearly every home I evaluate. The National Institute on Aging notes that age-related vision changes—reduced contrast sensitivity, slower adaptation to darkness—make adequate lighting a safety essential, not a luxury.
Motion-Activated Night Lights and Path Lighting
Plug-in motion-sensor LED night lights ($8–$15 each) belong in every hallway, bathroom, and bedroom. I recommend at least six throughout the home. LED under-cabinet lights in the kitchen ($20–$40 for a strip kit) illuminate countertops where you’re using knives and hot surfaces.
For stairways, battery-operated motion-sensor step lights ($12–$20 each) are a game changer. Place one at the top, one at the bottom, and one midway. No electrician required.
Replace Dim Bulbs Everywhere
Swap out every bulb in your home for 5000K daylight LED bulbs. A 12-pack costs around $12–$18 and dramatically improves visibility. This is one of the cheapest safety upgrades that exists, and I’m always surprised how many people overlook it.
- 6 motion-sensor night lights: $48–$90
- Under-cabinet LED strip: $20–$40
- 3 stair step lights: $36–$60
- LED bulb replacements: $12–$18
- Lighting subtotal: $116–$208
Flooring and Threshold Fixes ($100–$200)
Loose rugs are responsible for more falls than people realize. The CDC reported that in 2020, unintentional fall deaths among adults 65 and older topped 42,000—a 41% increase over the prior decade. Tripping hazards like bunched-up area rugs, raised thresholds, and frayed carpet edges are a major contributor.
Eliminate or Secure Every Rug
My standard advice: if a rug isn’t secured, remove it. If you love the rug and want to keep it, use industrial-grade rug tape or a non-slip pad beneath it. Non-slip rug pads run $10–$25 each depending on size. Budget for three to five throughout the house.
Smooth Out Transitions
Raised thresholds between rooms—especially where carpet meets tile or hardwood—are a common trip point. Aluminum transition strips with a gentle bevel cost $8–$15 each and can be installed with a drill in minutes. If you have a threshold higher than half an inch, a small wooden ramp ($20–$40) creates a safer transition, particularly if you ever need a walker or wheelchair.
- Non-slip rug pads (3–5): $30–$125
- Transition strips (3–4): $24–$60
- Threshold ramps (1–2): $20–$80
- Flooring subtotal: $74–$265
For more on building a complete strategy around staying in your home, take a look at Aging in Place: Why Most Seniors Want It but Few Plan for It—it covers the planning side that complements these physical modifications.
Kitchen and Living Space Adjustments ($150–$250)
The kitchen is the second most common room for injuries among older adults. Burns, cuts, and falls from reaching overhead cabinets are all preventable with a few targeted changes.
Reorganize Before You Renovate
Move your most-used dishes, pots, and pantry items to countertop level or the lowest shelves. This costs nothing but dramatically reduces the need for step stools—a leading cause of falls. I keep a “one-arm reach” rule with my clients: if you can’t reach it without extending both arms overhead, it needs to come down.
Lever Handles and Cabinet Pulls
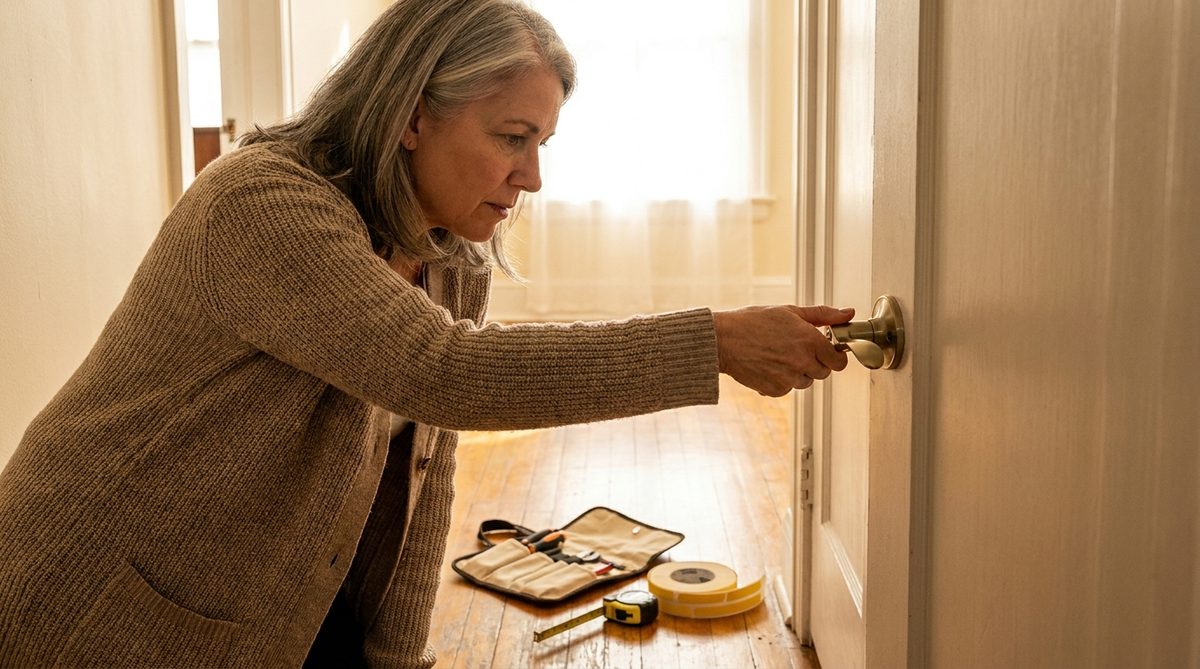
Replacing round doorknobs with lever-style handles ($8–$15 each) is critical for anyone with arthritis, reduced grip strength, or even occasional hand stiffness. Budget for four to six interior doors. D-pull cabinet handles ($2–$5 each) replace small knobs that are hard to grip. If you have 15–20 cabinets, that’s $30–$100 in hardware.
Anti-Fatigue Mats
Standing at the sink or stove gets harder on aging joints. A commercial-grade anti-fatigue kitchen mat ($25–$45) reduces strain on your knees, hips, and lower back. Choose one with beveled edges to prevent tripping.
- Lever door handles (4–6): $32–$90
- Cabinet D-pulls (15–20): $30–$100
- Anti-fatigue mat: $25–$45
- Kitchen/living subtotal: $87–$235
Smart Tech on a Budget ($150–$300)
Technology doesn’t have to be complicated or expensive to make a real difference. I’m not talking about whole-home automation systems—I mean a handful of affordable devices that add genuine safety layers.
Smart Doorbell and Door Lock
A video doorbell ($30–$60) lets you see who’s at the door without rushing to answer it. A smart keypad lock ($50–$120) eliminates fumbling with keys—especially useful if you have hand mobility issues or come home with grocery bags. Both install in under 30 minutes with a screwdriver.
Voice-Activated Assistant
An Amazon Echo Dot or Google Nest Mini ($25–$50) can set medication reminders, make hands-free phone calls, control smart lights, and even call for help in an emergency. For adults living alone, this is a low-cost lifeline. You can explore more options in 7 Tech Devices That Help Older Adults Age in Place Safely.
Medical Alert Device
If you live alone, a wearable medical alert pendant ($20–$50 for the device, plus $20–$35/month for monitoring) provides 24/7 emergency response at the push of a button. According to AARP, nearly 80% of adults over 50 want to stay in their current home as they age—but doing so safely often depends on having a reliable way to call for help.
- Video doorbell: $30–$60
- Smart keypad lock: $50–$120
- Voice assistant: $25–$50
- Medical alert device: $20–$50 (plus monthly service)
- Tech subtotal: $125–$280
Entryway and Outdoor Access ($100–$200)
Your front door is a bottleneck that many people ignore. A 2023 AARP Home and Community Preferences Survey found that only 10% of the U.S. housing stock has the three basic accessibility features needed for aging in place: a no-step entry, single-floor living, and wide doorways. You may not be able to fix all three for $200, but you can address the most dangerous gaps.
Exterior Handrails and Ramps
If you have even two or three porch steps, a sturdy exterior handrail ($40–$80 installed) is non-negotiable. For a single step, a small portable aluminum ramp ($60–$120) provides a zero-step option for days when balance or joint pain is worse than usual.
Outdoor Lighting and Non-Slip Treads
Solar-powered path lights ($20–$40 for a set of 6–10) illuminate your walkway without wiring. Non-slip adhesive treads for outdoor steps ($15–$25 for a set) cost almost nothing and prevent icy or wet-weather slips.
- Exterior handrail: $40–$80
- Portable ramp: $60–$120
- Solar path lights: $20–$40
- Non-slip step treads: $15–$25
- Entryway subtotal: $135–$265
Putting Your Budget Together
Here’s how the full plan breaks down across all zones:
- Bathroom: $265–$460
- Lighting: $116–$208
- Flooring/thresholds: $74–$265
- Kitchen/living areas: $87–$235
- Smart tech: $125–$280
- Entryway/outdoor: $135–$265
- Grand total: $802–$1,713
That’s a range, and it’s intentional. Not every home needs every modification. During my assessments, I walk room by room with clients and prioritize based on their specific mobility, vision, and health profile. Your version of this plan might lean heavily on the bathroom and lighting, or you might need more outdoor access solutions. The point is that setting up your home to age in place doesn’t require a contractor’s invoice that rivals a new car payment.
What to Tackle First If You Can’t Do Everything Now
If your budget is closer to $500 right now, here’s where I’d start:
- Grab bars in the bathroom (installed)
- Motion-sensor night lights throughout the home
- Remove or secure all loose rugs
- Replace round doorknobs with lever handles on the most-used doors
- Install a handheld showerhead
These five changes address the highest-risk scenarios for under $400. You can add smart tech, outdoor modifications, and kitchen upgrades over the following months as budget allows.
And don’t forget that your physical health is part of the aging-in-place equation too. Strength, balance, and flexibility directly affect how safely you move through your home every day. If you’re looking for a simple routine, 4 Minutes of Daily Resistance Training Can Transform Senior Fitness is a great place to start.
The Modifications That Can Wait
Some bigger projects—widening doorways, installing a walk-in shower, adding a first-floor bedroom—are worth planning for but don’t usually need to happen immediately. I encourage clients to create a “Phase 2” list for modifications in the $3,000–$15,000 range that they can budget toward over the next three to five years. Getting Phase 1 done now for under $1,500 buys you time and safety while you plan those larger investments.
The bottom line is this: setting up your home to age in place is not an all-or-nothing proposition. It’s a series of smart, affordable steps that compound over time. Start with the bathroom, fix your lighting, clear the trip hazards, and add technology where it makes sense. You’ll be amazed at how much safer and more confident you feel in a home that’s working with you instead of against you.
Frequently Asked Questions
What does it mean to age in place?
Aging in place means living safely and independently in your own home for as long as possible, rather than moving to an assisted living facility or nursing home. It involves making physical modifications, using supportive technology, and maintaining health habits that allow you to manage daily activities in a familiar environment.
How much does it cost to set up a home to age in place?
Basic safety modifications can be done for $800 to $1,500, covering grab bars, improved lighting, flooring fixes, lever handles, and smart tech. Larger renovations like walk-in showers or doorway widening typically range from $3,000 to $15,000 or more, but these aren't always necessary right away.
What is the most important room to modify for aging in place?
The bathroom is the highest priority. Wet, slippery surfaces combined with the physical demands of getting in and out of a tub or shower make it the most common location for fall injuries among older adults. Grab bars, non-slip surfaces, and a handheld showerhead are the top modifications.
Does Medicare or insurance cover aging-in-place home modifications?
Traditional Medicare does not cover home modifications like grab bars or ramps. However, some Medicare Advantage plans, Medicaid waiver programs, and Veterans Affairs benefits may cover certain modifications. State and local agencies on aging sometimes offer grants or low-interest loans for home safety upgrades as well.
Can I install aging-in-place modifications myself or do I need a contractor?
Many modifications—such as night lights, non-slip strips, lever handles, handheld showerheads, and rug pads—are straightforward DIY projects. Grab bars should be secured into wall studs for safety, which may require a handyman if you're not experienced with a drill and stud finder. Larger projects like threshold ramps or exterior handrails may benefit from professional installation.
About Marcus Bell, Certified Aging-in-Place Specialist (CAPS)
Marcus Bell is a Certified Aging-in-Place Specialist (CAPS) with 14 years of experience helping American seniors create safer, more comfortable living environments. He has consulted on hundreds of home modifications — from bathroom safety upgrades to smart home installations — and writes extensively about the products, services, and strategies that help older adults live independently for longer. At Daily Trends Now, Marcus covers home improvement, aging-in-place solutions, gardening, and practical lifestyle tips for seniors.