

You Don’t Need $50,000 to Make Your Home Safer—Here’s the Realistic Plan
Every week, someone calls me in a mild panic after reading that the average aging-in-place renovation costs between $10,000 and $100,000. They assume they’ll have to drain their savings or, worse, give up on staying home altogether. In my 14 years as a Certified Aging-in-Place Specialist, I’ve learned that the number-one barrier to home modification isn’t physical—it’s sticker shock.
Here’s what I tell every one of those callers: you can set up your home to age in place for $1,500 or less if you focus on the modifications that actually prevent injuries. Not the luxury upgrades. Not the full kitchen gut job. The targeted, evidence-based changes that keep you safe, mobile, and independent in the home you already love.
According to the National Council on Aging, falls are the leading cause of fatal and non-fatal injuries among adults 65 and older, resulting in more than 3 million emergency department visits annually. The vast majority of those falls happen at home. The good news? Most are preventable with straightforward modifications that cost far less than people expect.
Step-by-Step: Your $1,500 Aging-in-Place Action Plan
I’ve broken this guide into a prioritized sequence. If your budget is tight, start with Steps 1 through 3—they cover the highest-risk areas in your home for under $400. Then work through the remaining steps as funds allow. Every dollar you spend here is an investment in staying out of the hospital and out of assisted living.
- Conduct a room-by-room safety audit ($0)
Before you spend a cent, walk through every room with a critical eye. Bring a notebook. Look for loose rugs, dim lighting, cluttered walkways, and anything you have to reach above shoulder height or bend below knee level to access. Note every spot where you’ve stumbled, grabbed a towel bar for balance, or felt unsteady. This list becomes your modification blueprint. The National Institute on Aging offers a free home safety checklist you can download to guide this process. - Install grab bars in the bathroom ($80–$200)
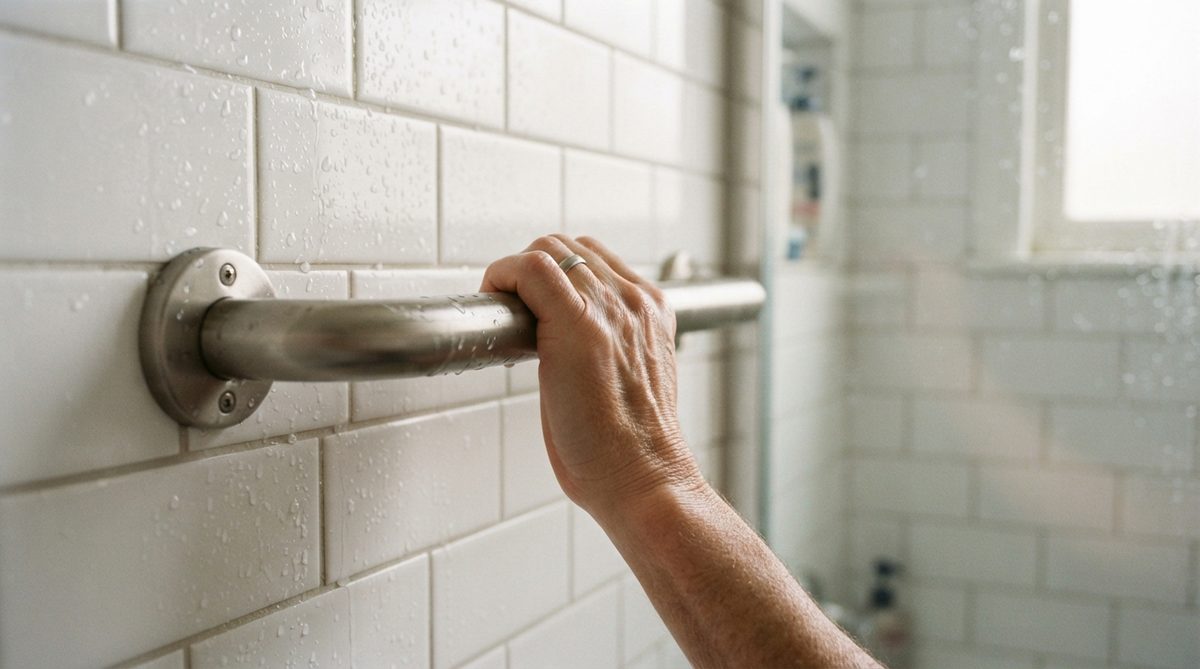
The bathroom is the most dangerous room in the house for older adults. Period. I recommend installing at least three grab bars: one vertical bar at the tub or shower entry, one horizontal bar along the shower wall, and one next to the toilet. ADA-compliant stainless steel or chrome grab bars run $15–$40 each at any hardware store. Professional installation adds $50–$100 per bar if you’re not comfortable drilling into studs yourself. Do not rely on suction-cup bars—they fail under load, and I’ve seen the injuries to prove it. - Upgrade lighting throughout the home ($50–$150)
After age 60, you need roughly three times more light to see as clearly as you did at 20. Swap out dim bulbs for 3000K–4000K LED bulbs (bright but not harsh) in hallways, staircases, bathrooms, and the kitchen. Add plug-in motion-sensor night lights along the path from bedroom to bathroom—this single change prevents a startling number of nighttime falls. A 10-pack of quality motion-sensor LED night lights costs about $25. - Eliminate trip hazards ($20–$75)
Remove or secure every loose throw rug with industrial-strength double-sided carpet tape. Tack down curling carpet edges. Run cord covers over any electrical cords that cross walkways. If you have a raised threshold between rooms, install a beveled threshold ramp ($10–$25 each). These are small expenses with outsized safety returns. - Add a handheld showerhead with a slide bar ($30–$80)
A handheld showerhead on an adjustable slide bar lets you shower seated or standing, and it eliminates the need to twist and reach under a fixed stream. Most models connect to your existing shower arm in under 15 minutes with no tools beyond an adjustable wrench. Pair it with a sturdy shower chair or transfer bench ($40–$80), and you’ve dramatically reduced your fall risk during the most hazardous daily activity. - Swap out door hardware and faucets ($75–$200)
Round doorknobs are a challenge for anyone with arthritis, reduced grip strength, or neuropathy. Lever-style door handles cost $12–$25 each and take 15 minutes to install per door. Focus on the bathroom, bedroom, and exterior doors first. If your kitchen or bathroom faucets still use twist knobs, single-lever faucet replacements ($50–$120) make a meaningful daily difference. - Install a toilet seat riser ($25–$60)
Standard toilets sit at 15 inches—too low for many adults with hip, knee, or balance issues. A raised toilet seat adds 3–5 inches of height and often includes built-in armrests. It clamps onto your existing toilet in minutes. This is one of the most recommended modifications among occupational therapists, and it’s one of the cheapest. - Add stair safety features ($50–$150)
If your home has stairs, add high-contrast, non-slip adhesive treads to every step ($30–$60 for a full set). Make sure handrails are secure and extend the full length of the staircase on both sides. If you only have one handrail, adding a second one costs $50–$100 in materials. Mark the top and bottom steps with contrasting tape so depth perception issues don’t cause a misstep. - Create a “daily living zone” on one floor ($0–$200)
I often tell my clients that the safest modification you can make is behavioral, not structural. Move your bedroom, essential clothing, medications, and daily supplies to the main floor if possible. If you need a small microwave cart, a bedside commode for nighttime use, or a rolling storage unit to consolidate essentials, budget $50–$200. The goal: minimize stairs and reduce the distance between where you sleep, eat, and bathe. - Install a smart doorbell or peephole camera ($30–$100)
Safety isn’t only about falls. Being able to see who’s at your door without rushing to answer it matters—both for personal security and for avoiding hurried movements that lead to trips. A basic video doorbell starts around $30 for wired models. As a bonus, staying comfortable with smart home technology supports cognitive engagement—something research increasingly confirms. In fact, smartphone use has been linked to lower cognitive decline in seniors.
Where Your $1,500 Actually Goes: A Realistic Budget Breakdown
Let me show you exactly how this adds up. These figures are based on mid-range pricing at national retailers like Home Depot, Lowe’s, and Amazon as of mid-2025:
- Grab bars (3) with professional installation: $150–$220
- LED lighting upgrades + motion-sensor night lights: $50–$150
- Trip hazard removal (carpet tape, cord covers, threshold ramps): $20–$75
- Handheld showerhead with slide bar: $30–$80
- Shower chair or transfer bench: $40–$80
- Lever door handles (4 doors): $50–$100
- Raised toilet seat with arms: $25–$60
- Stair treads + additional handrail: $80–$150
- Daily living zone setup: $0–$200
- Video doorbell: $30–$100
Total range: $475–$1,215. That leaves you a cushion within $1,500 for unexpected needs or to hire help with installation. If you’re handy or have a family member who can assist, you’ll land well under $1,000.
And if you’re worried about how these costs fit into your broader retirement budget, it’s worth understanding the biggest financial concerns retirees are facing in 2026 so you can plan accordingly.
What to Skip (and What to Save For Later)
Part of staying within budget means knowing what not to do right now. I see homeowners blow their entire budget on a single flashy upgrade while ignoring the basics that would actually keep them safe.
Skip for Now
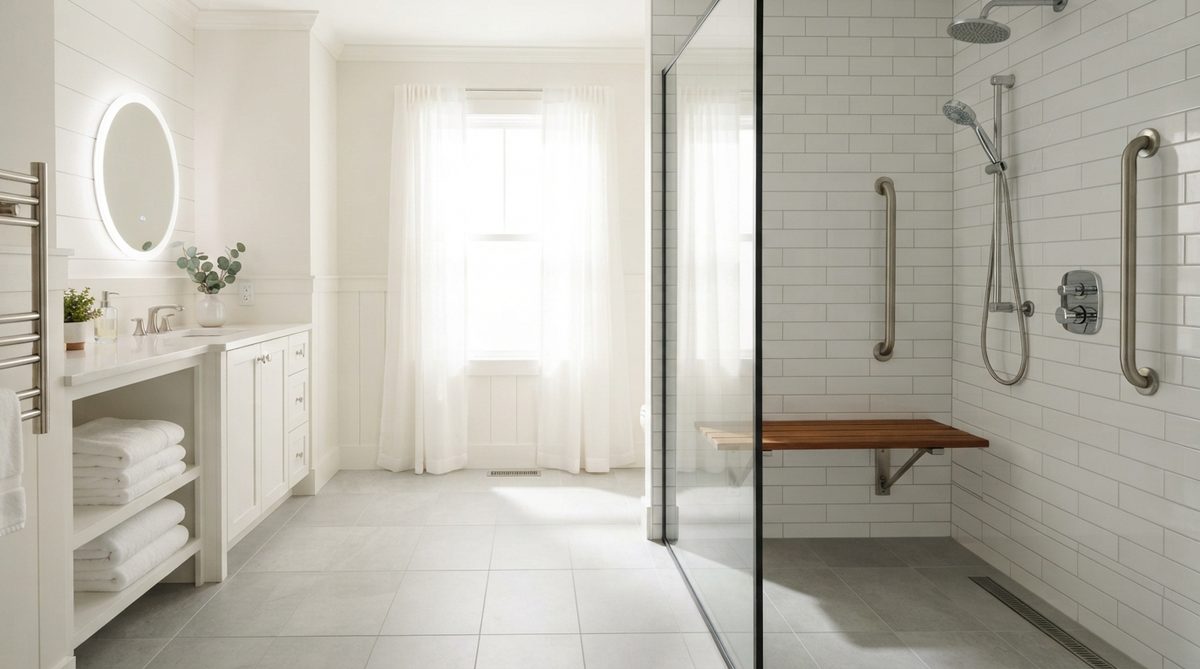
- Full bathroom remodels. A curbless shower is wonderful, but it costs $3,000–$8,000. Your grab bars, shower chair, and handheld showerhead deliver 80% of the safety benefit at 5% of the cost.
- Stairlifts. They run $2,000–$5,000 installed. Moving your daily living zone to the main floor is the budget-smart alternative.
- Whole-home smart systems. Start with a video doorbell and smart lights. You don’t need a $2,000 home automation setup on day one.
Save For Later
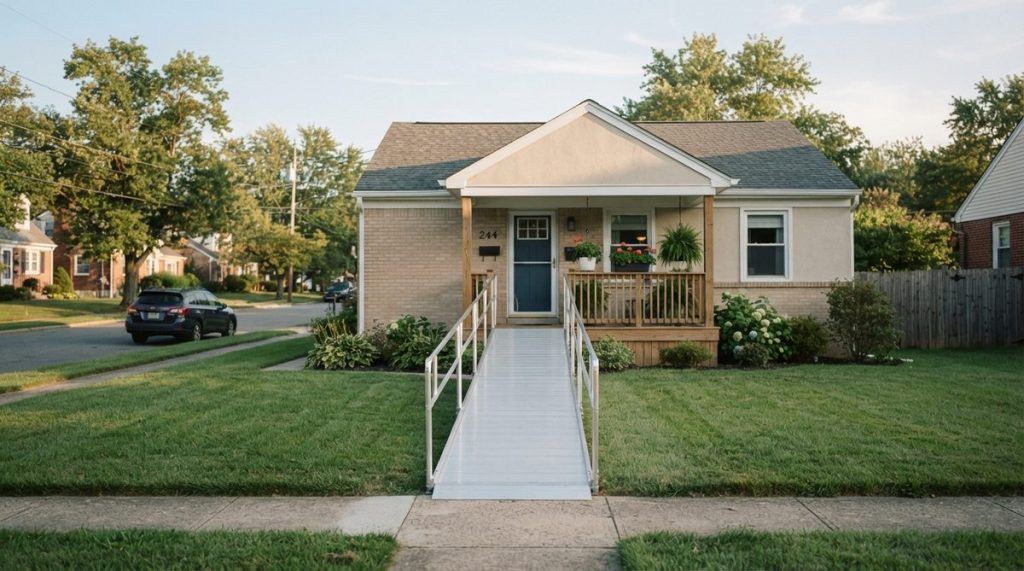
- Exterior ramp installation ($1,000–$3,500) if mobility changes require it down the road.
- Widening doorways ($300–$1,000 per door) for wheelchair or walker access if that becomes necessary.
- Kitchen modifications like pull-down shelving or a wall oven at counter height.
The key principle: do what prevents injury today and plan for accessibility tomorrow.
How to Find Help and Save Even More
You don’t have to do this alone, and you may not have to pay full price.
Grants and Assistance Programs
The U.S. Department of Housing and Urban Development (HUD) funds home modification assistance through local Area Agencies on Aging. Many states offer grants or low-interest loans specifically for aging-in-place modifications. Medicaid waiver programs in some states cover grab bars, ramps, and other safety features. Contact your local Agency on Aging or visit NCOA’s BenefitsCheckUp tool to see what you qualify for.
Veterans Benefits
If you’re a veteran, the VA offers the Home Improvements and Structural Alterations (HISA) grant—up to $6,800 for service-connected disabilities or $2,000 for non-service-connected conditions. Many veterans I work with don’t realize this benefit exists.
DIY vs. Professional Installation
Some tasks—like swapping out light bulbs, removing throw rugs, and installing a handheld showerhead—require zero expertise. Others, like anchoring grab bars into wall studs, demand proper tools and knowledge. A grab bar installed into drywall alone will pull out under body weight. If you’re not certain you can hit studs or use proper mounting hardware, hire a handyman. Many charge $50–$75 per hour, and three grab bars might take an hour total.
For a deeper dive into budget-friendly approaches, I’ve also outlined additional strategies in my guide on how to set up your home to age in place on a budget.
The Real Cost of Doing Nothing
I want to put this $1,500 investment in perspective. According to AARP, the average hospital cost for a fall-related hip fracture exceeds $30,000. One in five hip fracture patients ends up in a nursing facility within a year. The median annual cost of a semi-private nursing home room in the U.S. is now over $100,000, per the Genworth Cost of Care Survey.
That $35 grab bar next to your toilet isn’t just hardware. It’s a financial firewall.
What I see most often is this: people postpone simple modifications because they feel fine right now. But aging-in-place preparation isn’t about how you feel today—it’s about preventing the crisis that changes everything tomorrow. The best time to modify your home is before you need to.
Your Weekend Action Plan
If this feels overwhelming, let me simplify it. Block out one weekend and tackle the three highest-impact, lowest-cost changes:
- Saturday morning: Do your room-by-room safety audit. Write everything down.
- Saturday afternoon: Drive to the hardware store. Buy grab bars, LED bulbs, motion-sensor night lights, non-slip stair treads, and carpet tape.
- Sunday: Install what you can. Schedule a handyman for the grab bars if needed.
By Sunday night, your home will be meaningfully safer. Total spend: under $300. Total time: a few hours. That’s the kind of return on investment that makes my job worth doing.
Aging in Place Is a Plan, Not a Hope
Nearly 90% of adults over 65 say they want to remain in their current home as they age—but fewer than half have made any modifications to support that goal. The gap between desire and preparation is where injuries happen, independence is lost, and families scramble to find emergency solutions.
You can close that gap this month for less than the cost of a weekend getaway. Set up your home to age in place for $1,500, and you’re not just installing grab bars and better lighting—you’re building a foundation for years of safe, comfortable, independent living.
That’s worth every penny and every minute of your time.
Frequently Asked Questions
What is the most important aging-in-place modification to make first?
Bathroom grab bars are the single most impactful first step. The bathroom is the most dangerous room for older adults due to wet, slippery surfaces, and properly installed grab bars near the toilet and inside the shower can prevent the majority of bathroom falls. They cost $15–$40 each and can be professionally installed for under $200 total.
Does Medicare cover home modifications for aging in place?
Traditional Medicare generally does not cover home modifications like grab bars, ramps, or lighting upgrades. However, some Medicare Advantage plans offer supplemental benefits that include home safety modifications. Medicaid waiver programs in certain states may also cover specific modifications. Contact your local Area Agency on Aging or visit NCOA's BenefitsCheckUp tool to explore your options.
Can I really set up my home to age in place for $1,500?
Yes, if you prioritize the modifications that deliver the greatest safety impact. Focusing on grab bars, improved lighting, trip hazard removal, a handheld showerhead, lever door handles, a raised toilet seat, and stair treads will keep you well within a $1,500 budget. Many homeowners complete these essential changes for under $1,000, especially if they handle simple installations themselves.
About Marcus Bell, Certified Aging-in-Place Specialist (CAPS)
Marcus Bell is a Certified Aging-in-Place Specialist (CAPS) with 14 years of experience helping American seniors create safer, more comfortable living environments. He has consulted on hundreds of home modifications — from bathroom safety upgrades to smart home installations — and writes extensively about the products, services, and strategies that help older adults live independently for longer. At Daily Trends Now, Marcus covers home improvement, aging-in-place solutions, gardening, and practical lifestyle tips for seniors.