

The Phone Call That Changed Everything
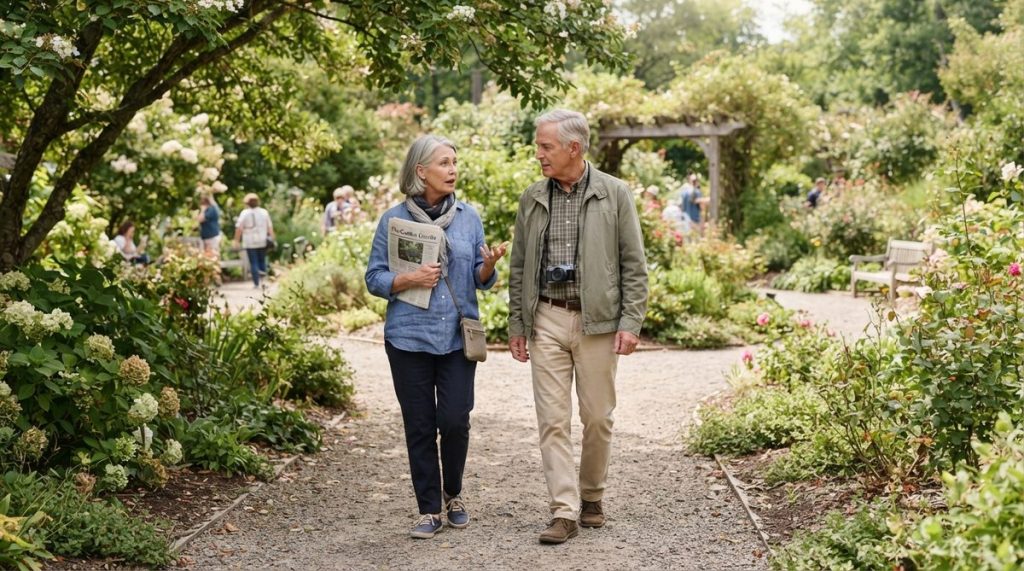
Last October, I got a call from a woman named Diane in suburban Atlanta. She was 68, recently widowed, and terrified. Not of being alone—Diane had a rich social life, a book club, grandchildren who visited on weekends. What terrified her was the quote she’d just received from a contractor: $47,000 to renovate her 1,980-square-foot ranch home so she could safely stay there as she aged.
“Marcus, I love this house,” she told me, her voice catching. “Ray and I raised three kids here. But I don’t have forty-seven thousand dollars, and I refuse to move into some facility just because my bathtub is too high.”
Diane’s story is one I hear almost every week. In my 14 years as a Certified Aging-in-Place Specialist, I’ve walked through hundreds of homes with people who share the same fear: that staying in the home they love is a luxury they can’t afford. The truth? It usually isn’t. What I helped Diane accomplish for under $1,400 transformed her house from a fall risk into a home she’ll likely live in safely for another two decades.
This is the story of how she did it—and how you can, too.
Why Aging in Place Has Become a Financial Imperative
Let’s put some numbers on the table, because they tell a compelling story. According to AARP, roughly 77% of adults over 50 want to remain in their current home as they age. That preference isn’t sentimental fluff—it’s financially rational. The median annual cost of a semi-private room in a nursing facility hit $104,025 in 2024, according to Genworth’s Cost of Care Survey. Assisted living averages $64,200 per year.
Compare that to a one-time investment of $1,500 to $5,000 in targeted home modifications, and the math becomes almost absurd. Yet most people either don’t know where to start or get paralyzed by contractor quotes that lump essential safety upgrades with cosmetic renovations they don’t actually need.
What I see most often is a dangerous gap between awareness and action. People know they should prepare their homes. They read about aging in place. But they stall—sometimes for years—because the project feels overwhelming or expensive. Meanwhile, falls keep happening. The CDC reports that one in four Americans aged 65 and older falls each year, and falls are the leading cause of injury-related death in that age group.
Diane was determined not to become a statistic. So we got to work.
Diane’s Home: A Walk-Through That Reveals Hidden Dangers
When I arrived at Diane’s home on a Tuesday morning, it looked exactly like what it was: a well-maintained, 1987-built ranch with hardwood floors, a step-down living room, and a single full bathroom with a tub-shower combo. Charming. Also, quietly hazardous.
The Bathroom: Where 80% of In-Home Falls Happen
I always start in the bathroom. It’s the most dangerous room in any older adult’s home, and Diane’s was a textbook case. The cast-iron tub had a high sidewall—about 17 inches—with no grab bars. The bath mat was one of those decorative cotton ones that slides on wet tile. The single overhead light cast shadows that made the floor edge hard to see at night.
“I’ve already slipped once,” Diane admitted. “Caught myself on the towel rack. It pulled right out of the drywall.”
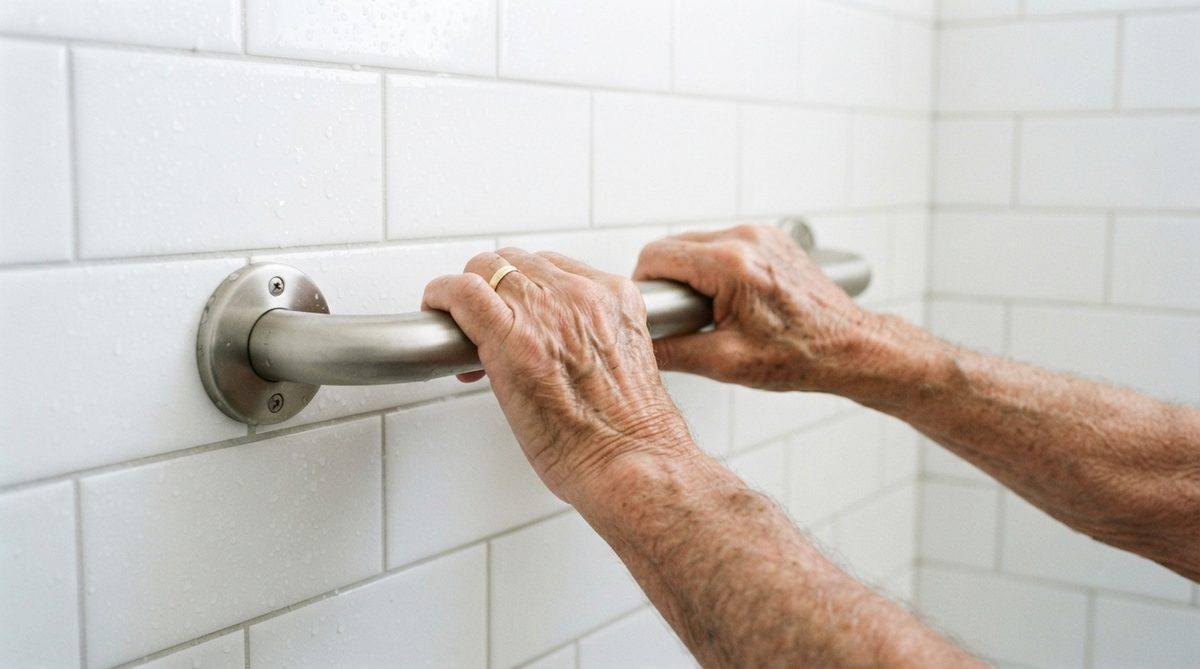
That towel rack confession is something I hear constantly. Towel bars are not grab bars. They’re mounted with simple drywall anchors rated for maybe 10 to 15 pounds of force. A person catching themselves mid-fall can exert 200 pounds or more of sudden lateral force. The towel bar becomes a projectile, and the person hits the floor.
The Kitchen: Subtle Risks Above and Below
Diane’s kitchen had upper cabinets that required a step stool to reach. She kept her everyday dishes on the second shelf—not a problem at 58, but a real hazard at 68 with mild osteoarthritis in her left shoulder. The under-cabinet lighting was burned out, making the countertop a dim workspace, especially during evening meal prep.
The Entryway: Three Steps and a Prayer
The front entrance had three concrete steps with a wrought-iron railing on only one side. The porch light was a single 40-watt bulb on a manual switch. Diane often came home after dark from her Thursday book club and navigated those steps carrying a purse and a casserole dish.
“I just hold my breath and hope,” she said. That sentence alone told me everything I needed to know about how urgent this project was.
The $1,400 Plan: Room by Room, Dollar by Dollar
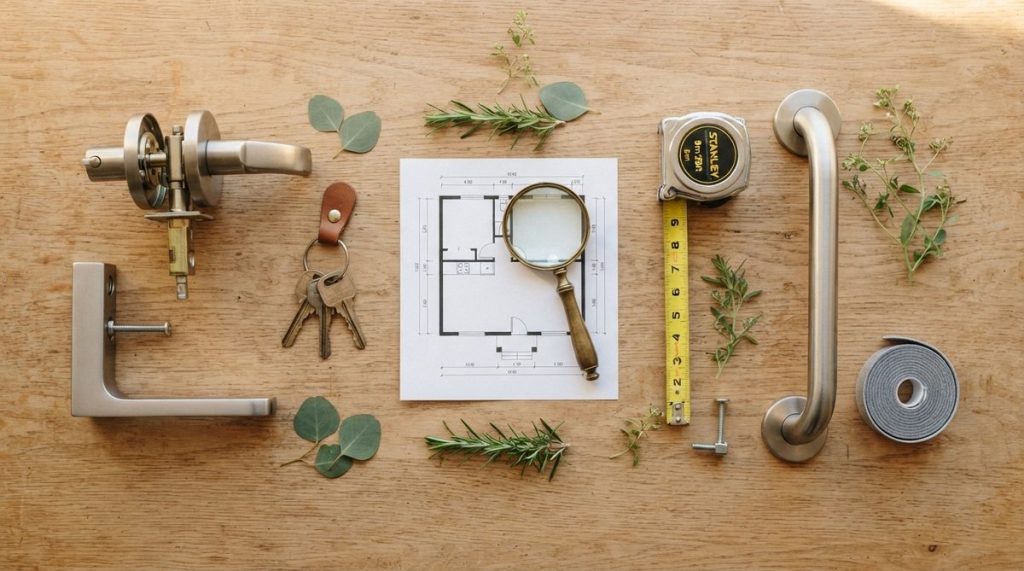
Here’s what I recommended for Diane, and what I recommend for most people in similar situations. These aren’t cosmetic upgrades. They’re evidence-based interventions that directly reduce fall risk and improve daily function. If you want a deeper breakdown of how budget tiers compare, I’d recommend reading Aging in Place Costs: What $1,500 vs $50,000 Actually Gets You for the full picture.
Bathroom Modifications: $620
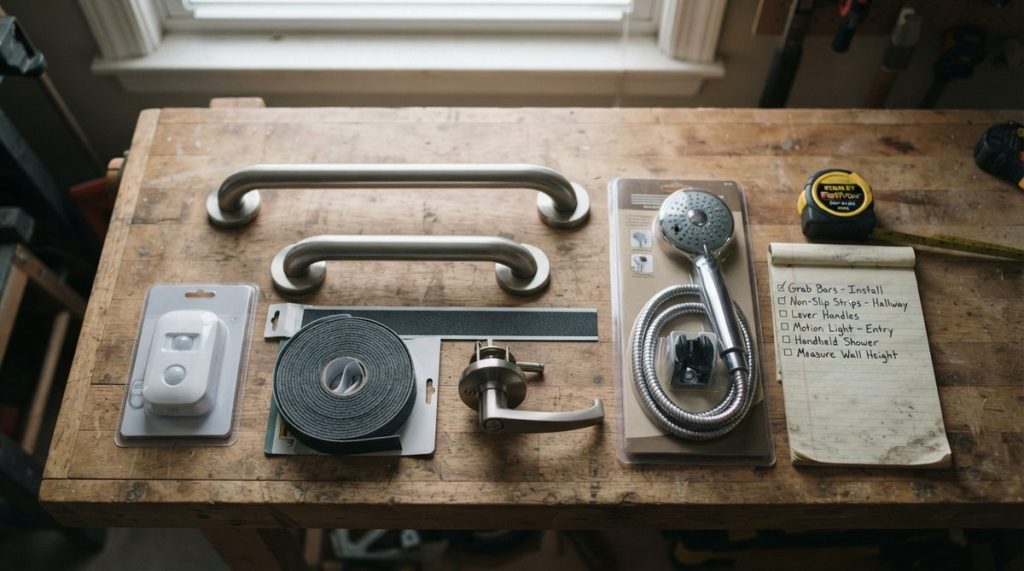
We installed three ADA-compliant grab bars—one vertical at the tub entry point, one horizontal along the long wall of the tub, and one angled near the toilet. Diane’s son-in-law, a weekend handyman, did the installation using a stud finder and toggle bolts rated for 500 pounds. The bars themselves cost about $35 each from a home improvement store.
Next, we replaced the cotton bath mat with an adhesive non-slip mat bonded directly to the tub floor ($18) and added a non-slip bath rug with rubber backing outside the tub ($22). A handheld showerhead with a 72-inch hose ($40) meant Diane could shower seated on a transfer bench ($85) without contorting to reach a fixed showerhead.
The single biggest investment in the bathroom was a comfort-height toilet seat riser with built-in armrests ($130). Diane’s existing toilet was a standard 15-inch height. Adding four inches made sitting and standing dramatically easier on her knees.
Finally, we installed two plug-in motion-sensor LED night lights in the bathroom—one near the door, one by the toilet ($12 for a two-pack). Total bathroom spend: roughly $620, including hardware and miscellaneous supplies.
Kitchen Modifications: $180
The kitchen fix was simple and satisfying. We relocated Diane’s everyday dishes, glasses, and cooking utensils to lower cabinets and countertop-level shelves. Cost: $0 and about 45 minutes of reorganization.
I recommended a set of pull-down shelf organizers for the two upper cabinets she used most—$65 each, installed with a screwdriver. These swing down to counter level so she never needs a step stool. We also replaced the under-cabinet lighting with adhesive LED strip lights ($50), powered by a simple plug-in transformer. Her countertop went from dim to bright, reducing the risk of knife slips and misread medication labels.
Entryway and Hallway Modifications: $340
Outside, we added a second handrail on the opposite side of the front steps ($85 for a wall-mount aluminum rail plus mounting hardware). This gave Diane two-handed support going up and down. We replaced the 40-watt porch bulb with a motion-activated LED floodlight ($35) that illuminates the entire entry area when she approaches.
Inside, the step-down into the sunken living room got a contrasting adhesive strip along the edge ($8 for a roll of high-visibility yellow tape). This simple visual cue is one of the most underrated fall-prevention tools I know. The brain processes contrast faster than depth, especially in low light.
We also secured three area rugs throughout the house using carpet tape and non-slip rug pads ($45 total). Loose rugs are the banana peels of home safety—everyone knows they’re dangerous, yet almost no one does anything about them until after a fall. Finally, we added lever-style door handles to the bathroom and bedroom doors ($38 each, two doors) to replace round knobs that Diane’s arthritic hands struggled with.
Bedroom and General Safety: $260
A bed rail ($55) went on Diane’s side of the queen bed to help her get in and out without straining. We installed a carbon monoxide and smoke detector combo unit in the hallway ($40)—her existing detector was 11 years old and past its recommended replacement date. Two more motion-sensor night lights went in the hallway between the bedroom and bathroom ($12).
The final purchase was a medical alert system—a wearable pendant with fall detection and GPS ($35 per month, first month plus activation fee around $100). I often tell my clients that the single most important aging-in-place investment isn’t a grab bar or a ramp. It’s the guarantee that if you do fall, help is coming within minutes, not hours.
What Diane’s Story Teaches Us About Priorities
When I followed up with Diane three months later, she told me something that stuck with me. “I sleep better now,” she said. “Not because the bed rail is comfortable—it’s actually kind of ugly. I sleep better because I’m not afraid of my own house anymore.”
That psychological shift is something the home-modification industry rarely talks about, but it matters enormously. Research from the National Institute on Aging consistently shows that fear of falling is itself a risk factor for falls—it leads to reduced activity, muscle deconditioning, and a vicious cycle of increasing frailty. When you remove the environmental hazards that fuel that fear, you don’t just prevent falls. You restore confidence, mobility, and independence.
And those downstream health effects are measurable. People who remain active in their own homes tend to maintain better cognitive function, stronger social connections, and lower rates of depression compared to those who move into institutional care. For more on how daily activity connects to long-term health, take a look at Simple Tools That Predict Older Adults’ Health Outcomes.
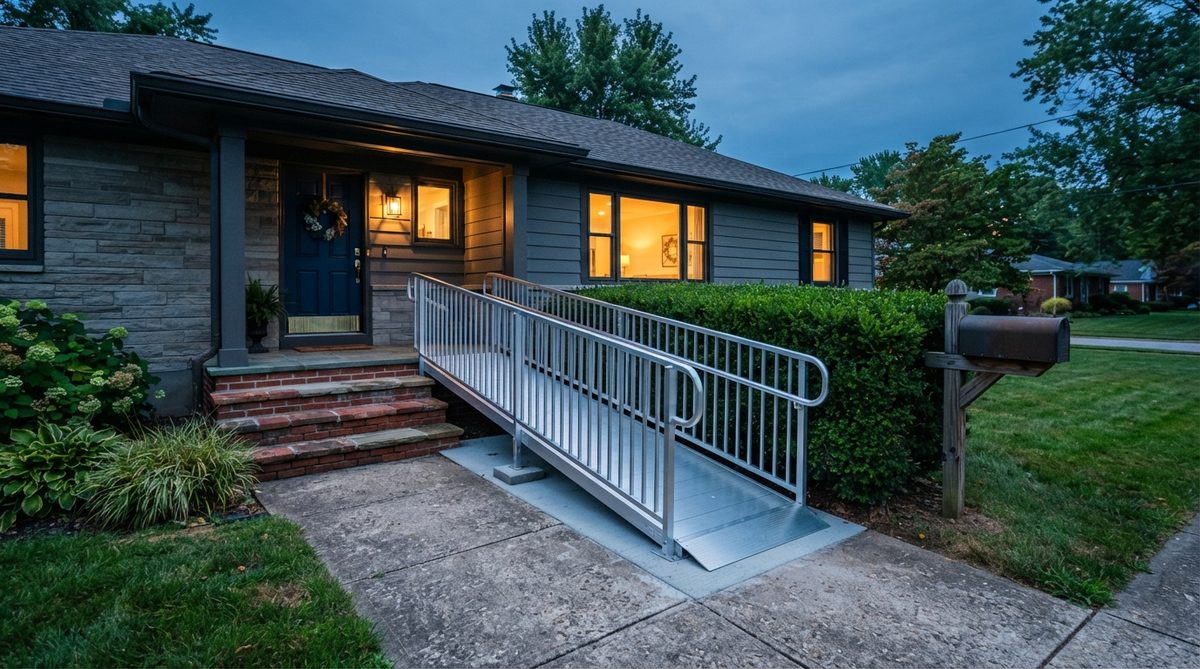
The Modifications Most People Overlook
Diane’s project covered the essentials, but I want to flag a few aging-in-place upgrades that don’t make most checklists—yet can be game-changers depending on your situation.
Lighting That Works With Aging Eyes
By age 60, the average person needs three times more light to see as well as they did at age 20. Yet most homes are lit for aesthetics, not function. Swapping bulbs throughout your home from warm 2700K to bright 4000K daylight-spectrum LEDs costs under $30 for a 12-pack and can dramatically reduce missteps, misread labels, and the general visual fatigue that leads to accidents.
Smart Home Devices as Safety Tools
A $25 smart plug can turn any lamp into a voice-activated or scheduled light. A $50 video doorbell lets you see who’s at the door without rushing to answer it—a common fall scenario. These aren’t luxury gadgets. They’re practical safety tools when used intentionally. Just be mindful of the security side: Elder Fraud Rises as Scammers Use AI: 7 Steps to Protect Yourself covers how to keep your connected devices secure.
The Yard and Garage
People focus on the interior and forget that the path from the car to the front door is where many falls happen. Cracked walkways, wet leaves, poor drainage, and dim garage lighting all contribute. A bag of concrete patch ($7), a leaf blower session, and a $20 LED shop light in the garage can address risks that are invisible until the first stumble.
When $1,500 Isn’t Enough: Knowing the Tipping Point
I want to be honest about something. A $1,500 budget handles the most critical safety modifications in a home that’s already reasonably functional. But there are situations where more significant investment—or a different living arrangement—makes sense.
If your only bathroom is on the second floor and your knees can no longer handle stairs reliably, no amount of grab bars solves that problem. You need either a stairlift ($3,000 to $5,000 installed) or a first-floor bathroom conversion ($8,000 to $15,000). If your home has narrow doorways that can’t accommodate a wheelchair or walker, widening them runs $300 to $1,000 per door.
The key is honest self-assessment. I encourage everyone over 60 to walk through their home with what I call “future eyes”—imagining themselves 10 years older, possibly using a cane or walker, possibly with reduced grip strength or vision. What would be difficult? What would be dangerous? What would be impossible?
The National Council on Aging offers a helpful home safety checklist that walks you through each room systematically. I recommend printing it out and doing the assessment with a trusted friend or family member who can spot risks you’ve normalized.
The Financial Side: Programs That Help Pay for Modifications
Cost is the number one barrier I encounter, so let me address it directly. Several programs exist to help older adults fund home modifications:
- Medicaid Home and Community-Based Services (HCBS) Waivers: Many states cover home modifications for Medicaid-eligible individuals. Coverage varies significantly by state, so contact your local Area Agency on Aging for specifics.
- USDA Rural Development Grants: The Section 504 program offers grants up to $10,000 for homeowners 62 and older in rural areas who need to remove health and safety hazards.
- Veterans Affairs (VA) Home Modification Grants: Veterans with service-connected disabilities may qualify for grants up to $109,986 (2024 figure) through the SHA or SAH programs.
- Rebuilding Together: This national nonprofit provides free home repairs and modifications to low-income older adults. They’ve served over 200,000 homes nationwide.
- State and local programs: Many municipalities offer low-interest loans or grants for accessibility modifications. Your city or county housing authority is the best starting point.
Even without program assistance, the numbers favor modification over relocation. The average cost of moving to assisted living for just one year exceeds what most comprehensive home modification projects cost in total. With inflation continuing to squeeze retirees’ budgets—something explored in depth in Inflation Is the Silent Killer for Retirement Portfolios in 2026—spending wisely on staying home is one of the smartest financial moves you can make.
Getting Started This Weekend
If Diane’s story resonates with you, here’s what I’d suggest doing before the week is out:
- Do the walk-through. Go room by room with a notepad. Look for loose rugs, dim lighting, missing grab bars, high tub walls, and cluttered pathways. Be brutally honest.
- Prioritize the bathroom. If you do nothing else, install grab bars and non-slip surfaces in your bathing area. This single intervention addresses the highest-risk zone in your home.
- Talk to your family. Home modifications work best when the people who visit and help you understand the changes. Your daughter needs to know where the grab bars are. Your neighbor needs to know you have a medical alert pendant.
- Set a budget and a deadline. “Someday” is the enemy of safety. Pick a number you can afford—even $200—and commit to spending it on the highest-priority modification within 30 days.
Diane spent $1,387 total. She did most of the work with her son-in-law over two weekends. She didn’t need a contractor, an architect, or a home equity loan. She needed a plan, a stud finder, and the willingness to stop hoping her house was safe and start making it safe.
Your Home Should Work for You—Not Against You
I’ve been doing this work since 2011, and if there’s one truth I’ve learned, it’s this: the homes we love weren’t designed for the bodies we’ll have. That’s not a failure of the home or the body. It’s just a mismatch that can be fixed, often affordably and always urgently.
Aging in place isn’t about pretending nothing has changed. It’s about respecting the changes and adapting your environment to meet them. Diane didn’t deny that her balance had shifted, her vision had dimmed, and her grip had weakened. She acknowledged those realities and spent a modest sum to ensure her home acknowledged them too.
Six months later, she called me again. Not because something had gone wrong—but because her neighbor had slipped on a wet bathroom floor and broken a hip. Diane wanted to know if I could do a walk-through of her neighbor’s house.
“Tell her to start in the bathroom,” I said. They always should.
Frequently Asked Questions
How much does it cost to set up your home to age in place?
Basic safety modifications typically cost between $1,000 and $1,500 for a standard home. This covers grab bars, non-slip surfaces, improved lighting, and a medical alert system. More extensive renovations like bathroom conversions or stairlifts can range from $5,000 to $50,000 depending on scope.
What is the most important home modification for aging in place?
Bathroom grab bars and non-slip surfaces are the single most impactful modification. Bathrooms account for approximately 80% of in-home falls among older adults, and properly installed grab bars rated for 500 pounds of force can prevent the most common and most dangerous fall scenarios.
Can I install aging-in-place modifications myself or do I need a contractor?
Many basic modifications—grab bars, non-slip mats, motion-sensor lights, lever door handles, and cabinet reorganization—can be done by a reasonably handy homeowner or family member with basic tools. Structural changes like doorway widening, ramp construction, or bathroom conversions typically require a licensed contractor.
Are there grants or programs that help pay for home modifications for seniors?
Yes. Medicaid HCBS waivers, USDA Section 504 grants (up to $10,000 for rural homeowners 62+), VA home modification grants for eligible veterans, and nonprofits like Rebuilding Together all offer financial assistance. Contact your local Area Agency on Aging to learn which programs are available in your state.
At what age should I start modifying my home for aging in place?
Most aging-in-place specialists recommend beginning modifications in your early 60s, or even sooner if you have mobility or balance concerns. Early modifications are proactive rather than reactive, and many upgrades—like better lighting and lever handles—improve daily comfort at any age while preventing future emergencies.
About Marcus Bell, Certified Aging-in-Place Specialist (CAPS)
Marcus Bell is a Certified Aging-in-Place Specialist (CAPS) with 14 years of experience helping American seniors create safer, more comfortable living environments. He has consulted on hundreds of home modifications — from bathroom safety upgrades to smart home installations — and writes extensively about the products, services, and strategies that help older adults live independently for longer. At Daily Trends Now, Marcus covers home improvement, aging-in-place solutions, gardening, and practical lifestyle tips for seniors.