

Why Making Your Home Safe for Aging in Place Matters More Than Ever
Nearly 90% of Americans over 65 say they want to remain in their own homes as they age, according to AARP. That’s a staggering number—and one I see confirmed every single week in my work. In my 14 years as a Certified Aging-in-Place Specialist, the most common thing clients tell me is: “I love this house. I just need it to love me back.”
The desire is real. But the gap between wanting to age in place and actually being able to do it safely is enormous. Falls alone send more than 3 million older adults to emergency departments every year, according to the CDC. And the National Institute on Aging reports that most of those falls happen inside the home—often in areas that could have been modified for a few hundred dollars.
This guide is the step-by-step blueprint I wish every homeowner over 50 had before a crisis forces rushed decisions. We’ll walk through every room, every priority level, and every budget range so you can make your home safe for aging in place on your terms—not the emergency room’s.
Step 1: Conduct a Whole-Home Safety Assessment
Before you buy a single grab bar, you need a clear picture of where your home’s risks actually are. I often tell my clients that the most dangerous hazards are the ones you’ve walked past a thousand times without noticing.
The DIY Walk-Through Method
Grab a notebook and walk through your home as if you’ve never been there before. At each room, ask yourself three questions:
- Can I move through this space without stepping over anything, reaching above shoulder height, or bending below knee level? If not, note the obstacle.
- What would happen if I lost my balance right here? Is there something sturdy to grab, or would I hit a sharp edge, glass surface, or hard floor?
- Can I see clearly in this space at 2 a.m. without fumbling for a switch? Inadequate nighttime lighting is behind a surprising number of falls.
Write down every issue you find—no matter how small. A loose throw rug in the hallway is just as worthy of your list as a bathtub without a grab bar.
When to Hire a Professional
A Certified Aging-in-Place Specialist (CAPS) or occupational therapist can conduct a formal home assessment, typically costing between $150 and $400. If you or your partner have a specific medical condition—Parkinson’s, low vision, arthritis—this professional evaluation is worth every penny. They’ll catch things a DIY walk-through won’t, like doorway widths that won’t accommodate a future walker or wheelchair (you need a minimum of 32 inches clear, and 36 inches is better).
There’s also growing legislative support for these modifications. A 2025 Senate bill proposes a $10,000 tax credit specifically for senior home upgrades, which could significantly reduce out-of-pocket costs for qualifying homeowners. Keep an eye on that—it could change the math on larger projects.
Step 2: Prioritize the Bathroom—The Most Dangerous Room
If you only modify one room, make it the bathroom. Period. The combination of hard surfaces, water, and the physical demands of bathing makes this the single highest-risk space in any home. What I see most often is that people underestimate how quickly a wet tile floor can turn a routine morning shower into a life-altering event.
Essential Bathroom Modifications
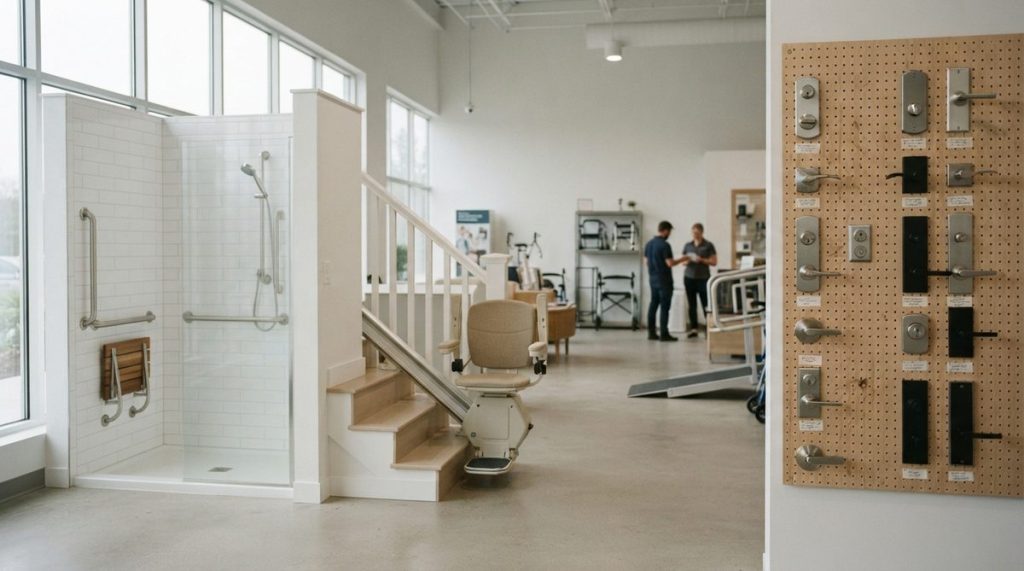
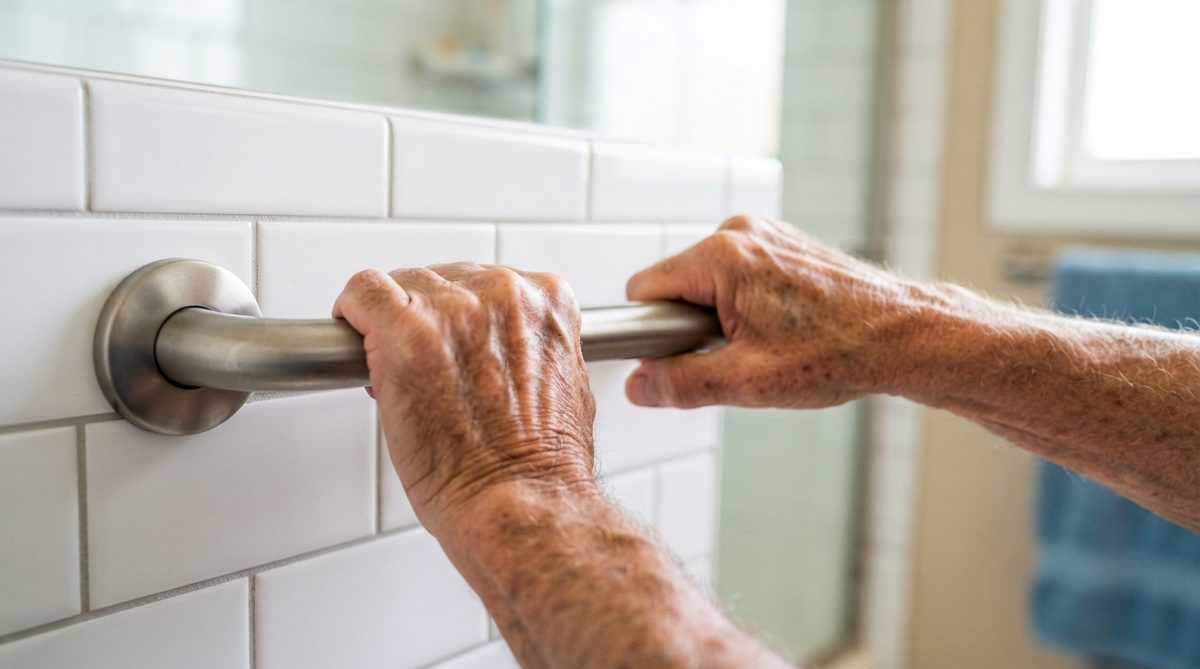
- Install grab bars at the toilet and inside the shower or tub. These should be anchored into wall studs or backing—not just drywall. ADA-compliant bars support at least 250 pounds. Budget: $30–$80 per bar, plus $100–$200 for professional installation.
- Add a walk-in shower or tub-to-shower conversion. Stepping over a traditional tub wall is one of the most hazardous daily motions for anyone over 60. A curbless (zero-threshold) shower is the gold standard. Budget: $3,000–$8,000 depending on your area.
- Place a shower bench or built-in seat. Even if you don’t need one today, having a seat available reduces fatigue-related falls. Budget: $40–$150 for a portable bench; $500–$1,500 for a built-in tile seat.
- Swap out round doorknobs for lever handles. Arthritis affects more than 54 million Americans, and a round knob can become nearly impossible to grip. Lever handles require almost no grip strength. Budget: $15–$40 per handle.
- Install a comfort-height toilet. Standard toilets sit around 15 inches; comfort-height models are 17–19 inches, making the sit-to-stand transition dramatically easier. Budget: $200–$500 installed.
- Use non-slip flooring or adhesive strips. Textured vinyl, matte-finish porcelain, or simple adhesive non-slip strips inside the tub or shower floor. Budget: $10–$30 for strips; $1,000–$3,000 for new flooring.
Step 3: Address Lighting Throughout the House
Poor lighting is the silent contributor to nearly every fall. By age 60, the average person needs three times more light than a 20-year-old to see the same details. By 80, that number jumps even higher.
Quick Lighting Fixes
Motion-sensor night lights in hallways, bathrooms, and the path from the bedroom to the kitchen cost between $8 and $20 each and can be installed in seconds. I recommend placing them every 8–10 feet along any nighttime travel route.
Under-cabinet LED strips in the kitchen illuminate countertops without the harsh glare of overhead fluorescents. They also make it easier to read medication labels and handle knives safely.
Rocker-style light switches replace small toggle switches and can be activated with a palm, elbow, or even a forearm when your hands are full. Budget: $3–$8 per switch.
If you can afford one upgrade, add illuminated stair treads or LED strip lighting along staircase edges. Stairways are the second most common location for in-home falls after the bathroom.
Step 4: Make the Kitchen Functional and Forgiving
The kitchen is where independence lives. Being able to prepare your own meals is one of the strongest predictors of successful aging in place. But traditional kitchen design—high cabinets, deep lower shelves, slippery floors—works against older adults.
Practical Kitchen Modifications
Pull-down shelving systems bring upper cabinet contents to counter height at the pull of a handle. They cost between $100 and $300 per unit and can be retrofitted into most standard cabinets.
D-shaped cabinet pulls replace small knobs and are far easier to grasp. A full kitchen swap typically costs $50–$150 in hardware.
Anti-fatigue mats in front of the sink and stove reduce joint strain during meal prep. Choose flat-edged mats that won’t create a tripping hazard—beveled edges are key.
An induction cooktop eliminates open flames and stays cool to the touch seconds after removing a pan. Prices have dropped significantly; a quality portable unit now starts around $70, while a full built-in ranges from $800 to $2,000.
Step 5: Eliminate Fall Hazards on Every Floor
I can’t say this strongly enough: remove every loose throw rug in your home. I know you love them. I know your grandmother made that one in the hallway. But loose rugs are responsible for a disproportionate number of falls among older adults. If you absolutely must keep a rug, secure it with industrial-strength carpet tape on all four edges and corners. Even then, check it monthly.
Flooring and Transition Strips
Where flooring types change—carpet to tile, hardwood to vinyl—uneven transitions create catching points. Beveled transition strips ($10–$30 per strip) smooth these areas. If you’re replacing flooring entirely, luxury vinyl plank (LVP) offers excellent slip resistance, cushioning, and is waterproof—a strong choice for aging-in-place homes.
Declutter Strategically
Excess furniture, stacked magazines, extension cords across walkways—these aren’t just clutter, they’re obstacles. Create clear pathways at least 36 inches wide through every room. If you use a cane or walker now, aim for 42 inches.
Step 6: Plan for Stairways and Entry Points
If your home has stairs, you need to decide: modify them or eliminate the need for them? Here’s how I help clients think through it.
If You’re Keeping the Stairs
- Install continuous handrails on both sides. They should extend past the top and bottom steps by at least 12 inches. Budget: $200–$600 per staircase for professional installation.
- Add contrasting color tape or paint to the nose of each step. This helps aging eyes distinguish where one step ends and another begins—especially important in low light. Budget: under $30.
- Consider a stairlift. A straight stairlift costs $2,000–$5,000; curved models run $8,000–$15,000. Rental options exist for post-surgery recovery periods.
If You’re Eliminating Stairs
Moving your bedroom to the main floor is the single most impactful change you can make. A ground-floor bedroom with an adjacent bathroom eliminates 90% of stairway risk. If you don’t have a spare room, converting a dining room or den typically costs $2,000–$10,000 depending on whether plumbing work is needed.
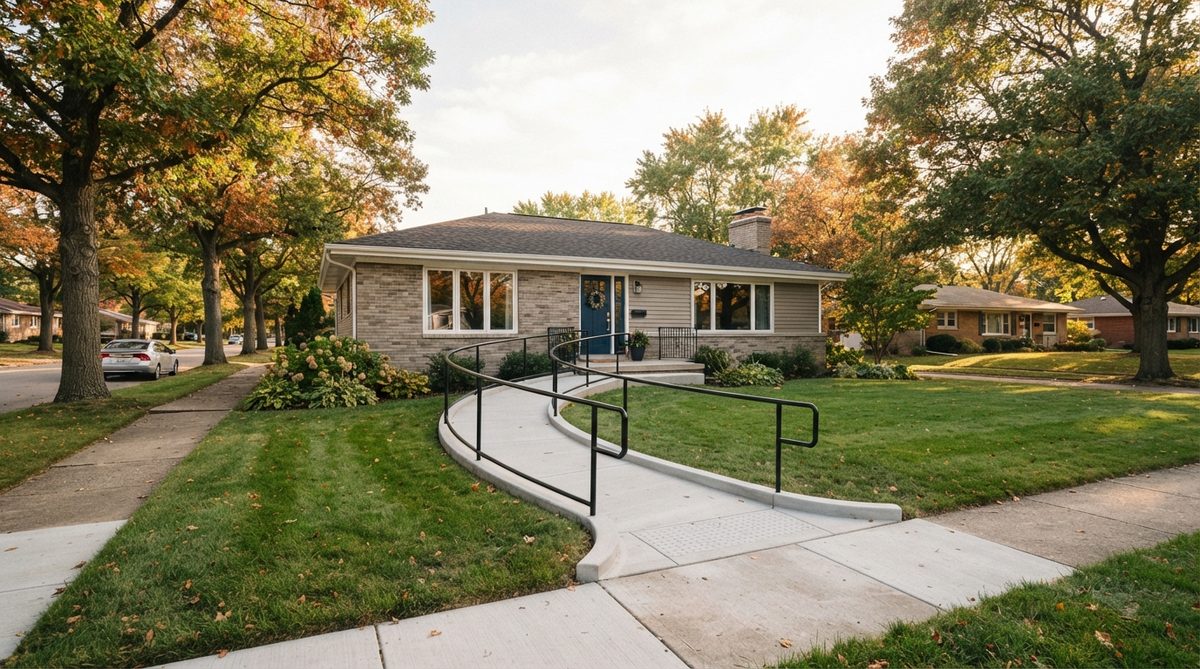
For exterior stairs, a ramp (permanent or modular) is essential if mobility is declining. Modular aluminum ramps start around $1,000 for a short rise and can be relocated if you move. Many communities also offer free or low-cost ramp-building through volunteer programs—check with your local Area Agency on Aging.
Step 7: Invest in Smart Home Technology
Technology has become one of the most powerful—and affordable—tools for making your home safe for aging in place. You don’t need to be tech-savvy to benefit.
High-Impact, Low-Cost Tech
Smart speakers (Amazon Echo, Google Nest) let you call for help, set medication reminders, control lights, and lock doors—all by voice. A basic unit costs $30–$50.
Video doorbells let you see and speak with visitors without walking to the door. This reduces fall risk and also provides security against financial scams targeting older adults who use door-to-door tactics. Budget: $50–$250.
Medical alert systems have evolved far beyond the “I’ve fallen and I can’t get up” era. Modern systems include fall detection, GPS tracking, and two-way communication for $25–$50 per month. If you live alone, this is non-negotiable in my professional opinion.
Smart locks with keypad entry eliminate fumbling with keys—a real issue for anyone with tremors or arthritis. Budget: $100–$300.
Comparing Costs: Common Aging-in-Place Modifications
One of the biggest questions I get is, “How much is all of this going to cost?” Here’s a realistic breakdown of the most common modifications, organized by priority and budget:
| Modification | Estimated Cost | Priority Level | DIY Friendly? |
|---|---|---|---|
| Grab bars (bathroom) | $30–$280 installed | High | Moderate (needs stud anchoring) |
| Non-slip flooring strips | $10–$30 | High | Yes |
| Motion-sensor night lights | $8–$20 each | High | Yes |
| Lever door handles (full home) | $150–$400 | Medium | Yes |
| Comfort-height toilet | $200–$500 installed | High | No |
| Walk-in shower conversion | $3,000–$8,000 | High | No |
| Stairlift (straight) | $2,000–$5,000 | Medium | No |
| Modular wheelchair ramp | $1,000–$4,000 | Medium-High | No |
| Smart speaker + smart plugs | $50–$100 | Medium | Yes |
| Medical alert system | $25–$50/month | High (if living alone) | Yes |
| Main-floor bedroom conversion | $2,000–$10,000 | High (multi-story homes) | No |
| Full kitchen pull-down shelving | $400–$1,200 | Low-Medium | Moderate |
As you can see, you can address the highest-priority risks for under $500 in many cases. The bigger-ticket items—shower conversions, stairlifts, ramps—are investments, but they’re still a fraction of what assisted living costs, which averages $4,500–$5,000 per month nationally according to the National Council on Aging.
Step 8: Fund Your Modifications Wisely
Cost is the number-one reason people delay home modifications—and the number-one regret after a fall. Here’s how to approach funding without draining your savings.
Medicaid waivers: Many states offer Home and Community-Based Services (HCBS) waivers that cover specific modifications for qualifying individuals. Eligibility varies by state, but it’s worth investigating.
VA grants: Veterans may qualify for the Specially Adapted Housing (SAH) grant (up to $109,986 in 2025) or the Home Improvements and Structural Alterations (HISA) grant.
Nonprofit programs: Rebuilding Together, Habitat for Humanity, and local Area Agencies on Aging often provide free or subsidized modifications for low-income seniors.
The proposed $10,000 tax credit: If the 2025 Senate bill passes, it would offer direct tax relief for qualifying home safety upgrades. Even if it doesn’t pass this session, similar legislation has been introduced repeatedly, signaling growing bipartisan support.
Thinking about the bigger financial picture? Rising costs can eat into every budget line. Understanding how inflation affects your overall retirement plan is critical—here’s a deeper look at 7 ways to stop inflation from draining your retirement savings.
Step 9: Create a Phased Modification Plan
You don’t need to do everything at once. In fact, I recommend against it. A phased approach lets you spread costs, test what works, and adjust as your needs change.
The Three-Phase Framework I Use With Clients
- Phase 1 — Immediate (This Month): Remove throw rugs, install night lights, add non-slip strips in the tub, check smoke and carbon monoxide detectors, clear walkway clutter. Total cost: under $100.
- Phase 2 — Near-Term (3–6 Months): Install grab bars, replace doorknobs with lever handles, add a shower bench, swap to rocker light switches, set up a medical alert system. Total cost: $300–$800.
- Phase 3 — Planned (6–18 Months): Walk-in shower conversion, stairlift or main-floor bedroom, exterior ramp, smart home integration. Total cost: $5,000–$20,000 depending on scope.
This phased approach works because it builds momentum. Completing Phase 1 in a single weekend gives you a tangible sense of progress—and most people find they’re eager to keep going.
Step 10: Don’t Forget the Emotional Side of Aging in Place
Safety modifications are essential, but they’re only half the equation. Isolation is a real and measurable health risk for older adults living at home. A 2020 National Academies of Sciences report found that social isolation increases the risk of premature death by 26%—a figure comparable to smoking 15 cigarettes a day.
As you make your home safe for aging in place, also invest in connection. Keep your home welcoming for visitors—well-lit entryways, comfortable guest seating, a clear path from the driveway to the door. Consider a front-porch setup that encourages neighborhood interaction. And stay engaged with community programs, faith groups, or volunteer work.
There’s a common misconception that aging in place means aging alone. I’ve written about this and other misconceptions in detail—be sure to check out these aging in place myths that could cost you safety and money.
The Bottom Line: Start Before You Need To
The single most important piece of advice I give every client is this: start your modifications before a crisis forces you to. Planning from a place of strength—when you have time to research, compare contractors, and spread costs—is infinitely better than scrambling after a fall or diagnosis.
Making your home safe for aging in place isn’t about admitting defeat or “getting old.” It’s about being strategic. It’s about choosing independence on your own timeline. And in my experience, the people who start early are the ones who stay in their homes the longest—comfortably, safely, and happily.
Take that walk-through today. Grab the notebook. Look at your home with fresh eyes. The house you’ve lived in for decades can absolutely be the house you thrive in for decades more—it just needs a few thoughtful upgrades to get there.
About Marcus Bell, Certified Aging-in-Place Specialist (CAPS)
Marcus Bell is a Certified Aging-in-Place Specialist (CAPS) with 14 years of experience helping American seniors create safer, more comfortable living environments. He has consulted on hundreds of home modifications — from bathroom safety upgrades to smart home installations — and writes extensively about the products, services, and strategies that help older adults live independently for longer. At Daily Trends Now, Marcus covers home improvement, aging-in-place solutions, gardening, and practical lifestyle tips for seniors.