

Why Senior Home Upgrades Deserve Your Attention Right Now
Here’s a number that stops most of my clients in their tracks: according to AARP, roughly 77% of adults over 50 want to remain in their current home as they age. Yet fewer than 10% of U.S. housing stock is equipped with the basic accessibility features needed to make that possible. That gap is enormous — and it’s costly when you ignore it.
In my 14 years as a Certified Aging-in-Place Specialist, I’ve walked through hundreds of homes with owners who assumed their house was “fine.” Then a fall happens, a knee replacement changes mobility overnight, or a spouse starts using a walker. Suddenly, the three-inch threshold at the back door becomes a daily hazard. The good news? Strategic senior home upgrades don’t just prevent emergencies — many of them actually increase your property value and reduce long-term costs.
With a proposed Senate bill potentially offering a $10,000 tax credit for senior home modifications, and with construction costs stabilizing after years of inflation, 2025 is shaping up to be the smartest year to invest. Below are seven upgrades I recommend most often, each one chosen because the return — in safety, savings, or resale value — outweighs the expense. If you’re looking for a deeper dive into the fundamentals, check out our comprehensive guide to making your home safe for aging in place.
1. Curbless Walk-In Shower Conversion
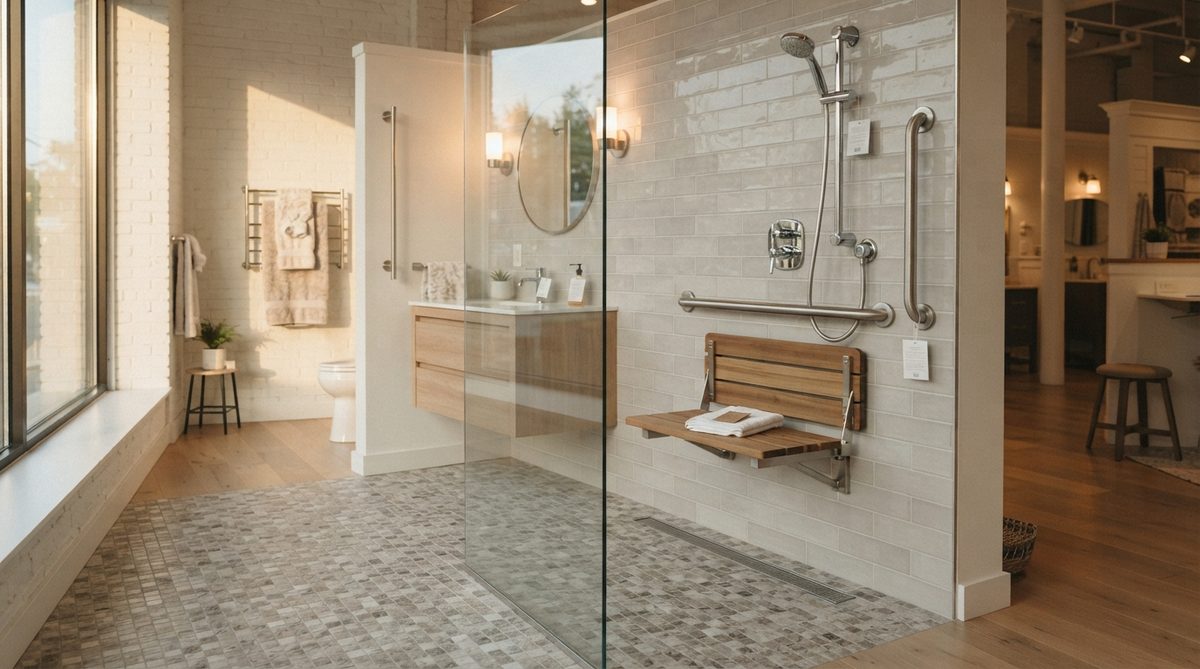
The single upgrade I push hardest is replacing a traditional tub-shower combo with a curbless (zero-threshold) walk-in shower. The CDC reports that over 235,000 Americans aged 65 and older visit emergency rooms each year due to bathroom-related injuries. Eliminating the step-over barrier of a bathtub addresses the number-one fall zone in the home.
What to Include
- Zero-threshold entry with a linear drain and properly sloped tile
- ADA-compliant grab bars mounted into wall studs (not suction-cup models)
- A fold-down teak or composite bench seat rated for at least 300 lbs
- Handheld showerhead on an adjustable slide bar
- Non-slip, textured floor tile with a coefficient of friction (COF) of 0.60 or higher
Average cost ranges from $4,500 to $9,000 depending on your region and finishes. What I see most often is homeowners recouping 60–70% of that at resale, because universal-design bathrooms appeal to buyers of every age. It’s not just a safety upgrade — it’s a market upgrade.
2. Lever-Style Door Hardware and Rocker Light Switches
This is the upgrade people overlook because it sounds too simple. Replacing round doorknobs with lever handles costs roughly $15–$40 per door, and swapping toggle light switches for wide rocker-style switches runs about $5–$10 each. For a typical three-bedroom home with 14 interior doors and 20 switches, you’re looking at $400–$800 total, including an electrician’s time for the switches.
Why does this matter? Arthritis affects over 54 million American adults, according to the National Council on Aging. Grip-dependent hardware becomes a daily source of frustration — and sometimes a genuine safety issue when you can’t open a door quickly during an emergency. I often tell my clients that this one change transforms the “feel” of living in a home more than almost any other single modification.
3. Smart Lighting and Motion-Sensor Systems
Poor lighting is an invisible hazard. The National Institute on Aging notes that a 60-year-old eye needs three times the light of a 20-year-old eye to see the same detail. Yet most homes built before 2000 are dramatically under-lit by today’s standards.
Priority Zones
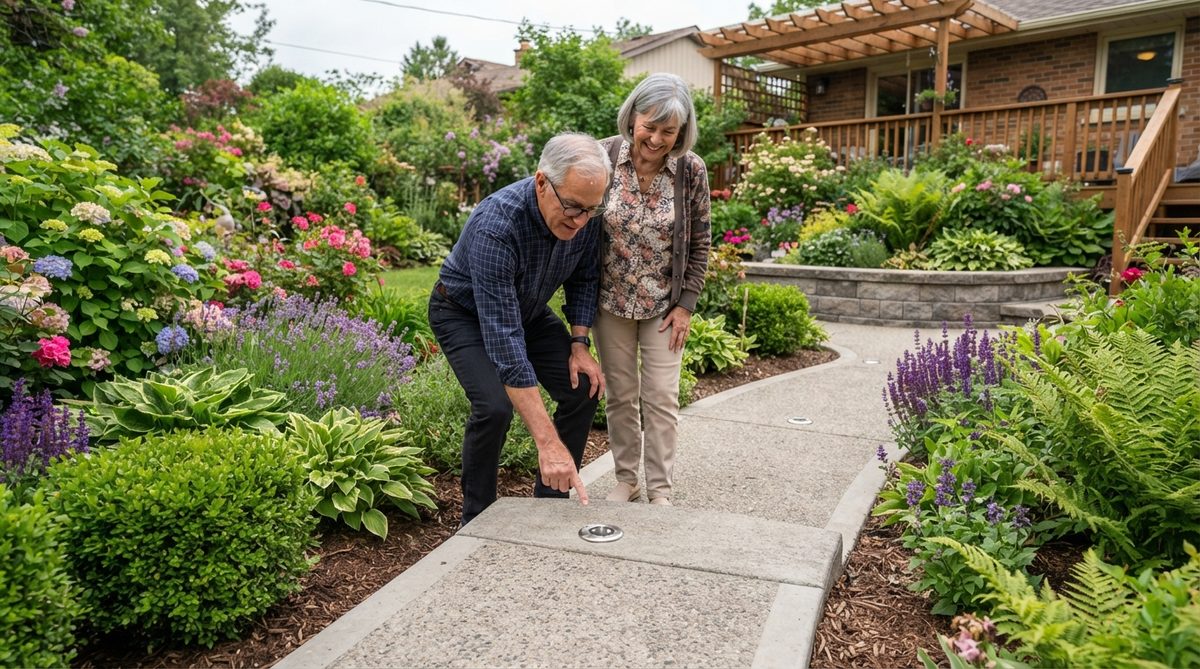
- Hallways and staircases: Install motion-activated LED strip lights along baseboards — they illuminate the path without blinding you at 2 a.m.
- Kitchen countertops: Under-cabinet LED puck lights eliminate shadows where knives, stoves, and hot liquids live.
- Exterior entry points: Motion-sensor floodlights (800+ lumens) reduce trip-and-fall risk and deter intruders. For more on staying safe from external threats, read our guide to avoiding financial scams targeting older adults.
- Bathroom nightlight: A warm-toned (2700K), plug-in motion sensor light near the toilet eliminates the need to flip a blinding overhead switch.
A whole-home smart lighting upgrade — including a hub, motion sensors, and voice-controlled smart bulbs — typically runs $600–$1,500. The energy savings from LED conversion alone often pay back the investment within two to three years, and the fall-prevention value is immeasurable.
4. Stairlift or Main-Floor Living Conversion
If your bedroom, full bathroom, kitchen, and laundry are all on one floor, you’re already ahead. If they’re not, you have two options: install a stairlift or redesign your main floor to eliminate the need for stairs entirely.
Stairlift vs. Main-Floor Conversion: A Quick Comparison
| Factor | Stairlift Installation | Main-Floor Living Conversion |
|---|---|---|
| Average Cost | $3,000–$5,000 (straight); $9,000–$15,000 (curved) | $15,000–$50,000+ (depends on scope) |
| Timeline | 1–2 days | 4–12 weeks |
| Resale Value Impact | Neutral to slightly negative (some buyers remove them) | Strongly positive — adds usable square footage |
| Best For | Homeowners who need the upper floor now but may move in 3–5 years | Homeowners committed to staying 10+ years |
| Insurance/Funding | Sometimes covered by Medicaid waivers or VA benefits | May qualify for proposed $10K senior home upgrade tax credit |
| Maintenance | Annual servicing ~$150–$300 | Minimal once completed |
In my experience, the stairlift is the right call about 60% of the time — it’s faster, cheaper, and perfectly functional. But if you’re planning to age in place for 15 or 20 years, converting a dining room or den into a main-floor bedroom suite is the stronger long-term play. The resale bump alone can offset a significant chunk of the renovation cost.
5. Reinforced Grab Bars and Support Rails Throughout the Home
I’m not just talking about the bathroom. Yes, grab bars beside the toilet and inside the shower are essential — but what about the garage entry step? The hallway between the bedroom and bathroom? The area next to your favorite reading chair where you push yourself up 10 times a day?
Where I Install Them Most Often
- Both sides of every exterior door threshold
- Along hallways longer than 8 feet (a continuous wall rail works beautifully)
- Beside the bed on the exit side
- Next to the washer and dryer, especially top-loaders that require reaching and pulling
- At the top and bottom of any staircase, even if a stairlift is present
Today’s grab bars look nothing like the institutional stainless-steel models of the 1990s. Companies like Moen and Delta now offer decorative grab bars in matte black, brushed nickel, and bronze finishes that double as towel bars or accent hardware. A professional installation of 8–12 grab bars throughout a home typically costs $800–$2,000, and it’s one of the highest-impact, lowest-cost senior home upgrades available.
6. Wider Doorways and Threshold Modifications
Standard interior doorways in pre-2000 homes are typically 28 to 30 inches wide. A standard wheelchair requires 32 inches of clear passage; a walker needs at least 30. Even if you don’t use a mobility device today, the math is not in your favor when you look at the statistics: approximately 7 million Americans over age 65 use assistive devices for mobility.
Two Approaches
Offset hinges (budget option): Swing-clear or offset door hinges add 1.5 to 2 inches of clearance without any structural work. Cost: $15–$40 per door, installable in 20 minutes. This is my go-to recommendation for renters or homeowners on a tight budget.
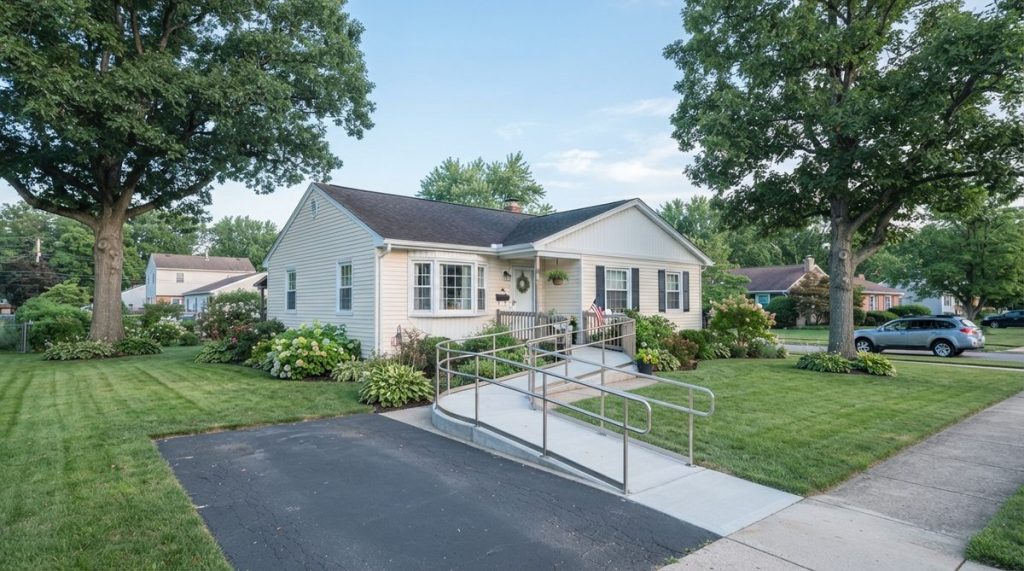
Full doorway widening (permanent solution): A contractor can widen a doorway to 36 inches — the ADA standard — for $500–$1,500 per opening, depending on whether the wall is load-bearing. I recommend prioritizing the bedroom, bathroom, and main entry first.
Threshold modifications matter just as much. A half-inch threshold bump might seem trivial, but it’s enough to catch a shuffling foot or jam a wheelchair caster. Beveled threshold ramps cost $20–$50 each and eliminate the hazard entirely. These kinds of expenses are modest but meaningful — especially for retirees watching their budgets. If rising costs are a concern, you might also want to read about how seniors are depleting retirement savings faster than expected and what you can do about it.
7. Smart Home Technology for Safety and Independence
I’ll admit I was skeptical of smart home tech a decade ago. Today, I consider it one of the most important categories of senior home upgrades — when it’s done right. The key word is “right.” A smart home system for aging in place isn’t about having the fanciest gadgets. It’s about choosing reliable, simple tools that solve real problems.
My Recommended Starter Kit
- Video doorbell (Ring, Google Nest): See and speak to visitors without walking to the door. Reduces fall risk and deters package theft. ~$100–$250.
- Smart lock with keypad: No more fumbling with keys in the dark or worrying about lost copies. Allows caregivers or family to have temporary access codes. ~$150–$300.
- Water leak sensors: Place under sinks, beside the water heater, and near the washing machine. A $25 sensor can prevent a $10,000 water damage claim.
- Medical alert system: Modern options like Medical Guardian or Bay Alarm Medical offer fall detection, GPS tracking, and 24/7 monitoring for $25–$50 per month.
- Voice assistant (Amazon Echo, Google Home): Hands-free calling, medication reminders, calendar management, and emergency calls. Especially valuable for adults with limited mobility or vision.
Total cost for a comprehensive smart home safety setup: roughly $500–$1,200 upfront, plus $25–$50 monthly for monitoring. Compared to a single ER visit averaging $3,500+ for adults 65 and older, the ROI is crystal clear.
How to Fund These Senior Home Upgrades
Budget is the elephant in the room for most of my clients. Here are the funding avenues I walk people through most frequently:
- Proposed Senior Home Modification Tax Credit: A 2025 Senate bill would provide up to $10,000 in tax credits for qualified aging-in-place renovations. While not yet law as of this writing, it has bipartisan support — keep an eye on it.
- USDA Section 504 Home Repair Grants: Available to low-income homeowners 62+ in rural areas. Grants up to $10,000 for safety modifications.
- VA Specially Adapted Housing (SAH) Grants: Veterans with service-connected disabilities can receive up to $109,986 (2025 limit) for home modifications.
- State and local Area Agency on Aging programs: Many communities offer free or subsidized grab bar installations, ramp construction, and lighting upgrades. Contact your local AAA to ask what’s available.
- Medicaid Home and Community-Based Services (HCBS) Waivers: Coverage varies by state but can include bathroom modifications, ramps, and stairlifts.
I always recommend getting at least three contractor bids for any project over $2,000, and specifically asking whether the contractor has experience with ADA-compliant or universal-design work. A beautiful renovation that doesn’t meet accessibility standards is an expensive mistake. For guidance on making sure your retirement dollars stretch far enough to cover these projects, take a look at our piece on how to close the $109K retirement savings gap.
The Upgrade That Costs Nothing: A Home Safety Walk-Through
Before you spend a single dollar, do what I do with every new client: walk through your home with fresh eyes. Start at the front door and move through every room. Look down — what’s on the floor that could trip you? Loose rugs, raised thresholds, extension cords stretched across walkways? Look up — is there enough light to see clearly at every hour of the day?
Grab a notepad and grade each room on a simple scale: safe, needs attention, or urgent. That list becomes your renovation roadmap. I’ve found that this 30-minute exercise often identifies $200 worth of quick fixes — removing a throw rug here, adding a nightlight there — that dramatically reduce fall risk before any major project begins.
Start With What Matters Most to You
You don’t have to tackle all seven of these senior home upgrades at once. In fact, I advise against it. Start with the area of the home where you feel the least confident — for most people, that’s the bathroom. Then layer in improvements over 12 to 24 months as budget and energy allow.
The goal isn’t to turn your home into a hospital. It’s to make the home you love work better for the life you’re living now — and the one you’ll be living in five, ten, or twenty years. Every grab bar, every widened doorway, every motion-sensor light is a vote for independence. And in my experience, that independence is worth every penny.
About Marcus Bell, Certified Aging-in-Place Specialist (CAPS)
Marcus Bell is a Certified Aging-in-Place Specialist (CAPS) with 14 years of experience helping American seniors create safer, more comfortable living environments. He has consulted on hundreds of home modifications — from bathroom safety upgrades to smart home installations — and writes extensively about the products, services, and strategies that help older adults live independently for longer. At Daily Trends Now, Marcus covers home improvement, aging-in-place solutions, gardening, and practical lifestyle tips for seniors.