

Key Takeaways
- You can make meaningful aging-in-place modifications starting with as little as $1,500 by prioritizing high-impact safety upgrades first.
- The bathroom and entryways are the two most critical zones to address, since they account for the majority of fall-related injuries at home.
- A phased approach to home modifications lets you spread costs over months or years while tackling the most urgent risks immediately.
- Technology solutions like smart lighting, medical alert systems, and voice-controlled devices can dramatically extend your independence without major renovations.
Why Aging in Place Deserves a Real Plan — Not Just Wishful Thinking
Here’s a number that stopped me in my tracks: according to AARP, roughly 77% of adults over 50 want to remain in their current homes as they age. But fewer than 10% of U.S. housing stock is equipped with even basic accessibility features. That gap between desire and reality is enormous — and it’s one I’ve seen create genuine crises in the families I’ve covered over my 16 years of lifestyle journalism.
The good news? Learning how to set up your home to age in place doesn’t require a six-figure renovation or an architecture degree. What it requires is a clear-eyed assessment of your home, a prioritized plan, and the willingness to start before you think you need to. I often tell my readers that the best time to modify your home is five years before you actually need the modification. The second-best time is today.
This guide walks you through the entire process — room by room, step by step — with realistic budgets and specific product recommendations. Whether you’re 52 and planning ahead or 72 and playing catch-up, every section here is designed to give you an actionable next move.
Step 1: Conduct an Honest Home Safety Audit
Before you spend a single dollar, walk through your home with fresh eyes. I mean literally walk through it — from your car to your front door, through every hallway, into the bathroom, up and down any stairs. Bring a notebook and a critical mindset.
The National Council on Aging reports that one in four Americans aged 65 and older falls each year, and the home is where the majority of those falls happen. Your audit should identify every trip hazard, every poorly lit corridor, every slippery surface.
Your Home Audit Checklist
- Exterior and entryways: Check for uneven walkways, cracked steps, lack of handrails, poor outdoor lighting, and heavy front doors that are difficult to open.
- Flooring throughout: Identify loose rugs, high-pile carpet transitions, slippery tile, and any thresholds higher than half an inch between rooms.
- Bathroom: Look for the absence of grab bars, a tub-only shower with a high step-over, poor ventilation (wet floors stay slippery longer), and inadequate lighting.
- Kitchen: Note frequently used items stored above shoulder height or below knee level, lack of task lighting near the stove and sink, and hard-to-grip cabinet hardware.
- Bedroom: Assess bed height (too low makes getting up difficult; too high creates fall risk), path from bed to bathroom in darkness, and closet accessibility.
- Stairs and hallways: Check handrail stability on both sides, lighting at top and bottom of stairs, and hallway width (should accommodate a walker at minimum — 36 inches).
- Electrical and tech: Count outlets accessible without bending to the floor, test smoke and carbon monoxide detectors, and evaluate your current lighting controls.
This audit typically takes 60 to 90 minutes. When you’re done, you’ll have a prioritized punch list. And that list is your roadmap for everything that follows. For a deeper dive into what most people overlook during this process, check out Aging in Place Myths Exposed: What Most Homeowners Get Wrong.
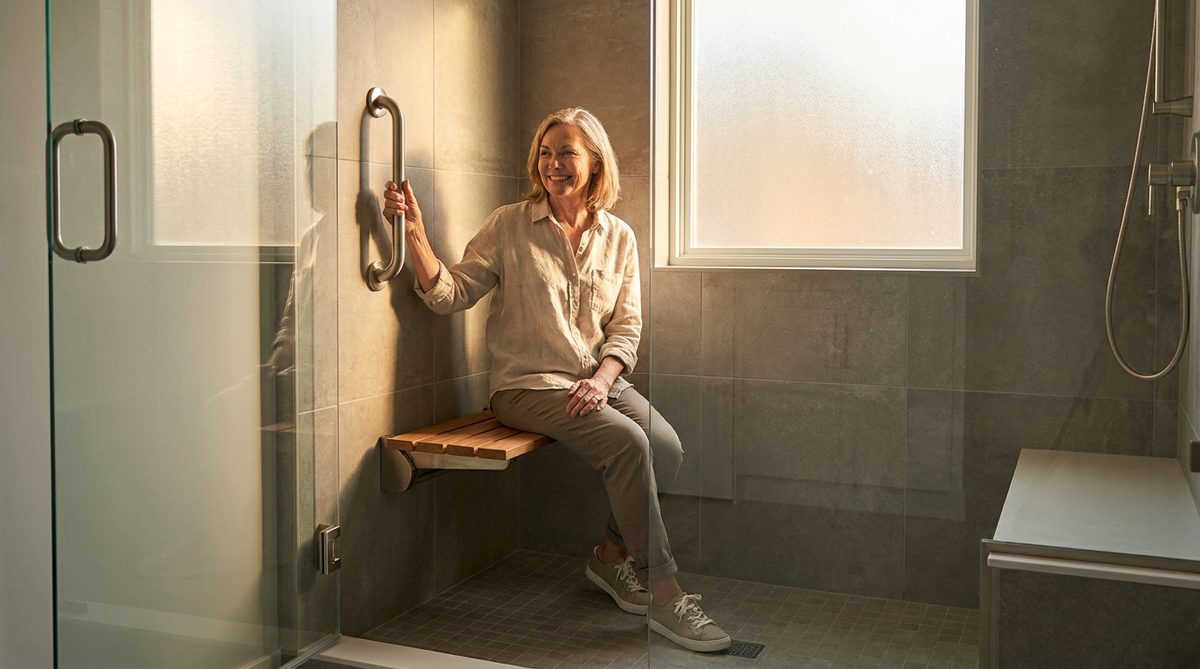
Step 2: Prioritize the Bathroom — It’s the Most Dangerous Room
If you do nothing else after reading this article, modify your bathroom. The CDC’s data is unambiguous: bathrooms are the leading location for fall injuries among older adults. The combination of hard surfaces, water, steam, and awkward movements (stepping over tub walls, lowering yourself onto a toilet) makes this room a perfect storm.
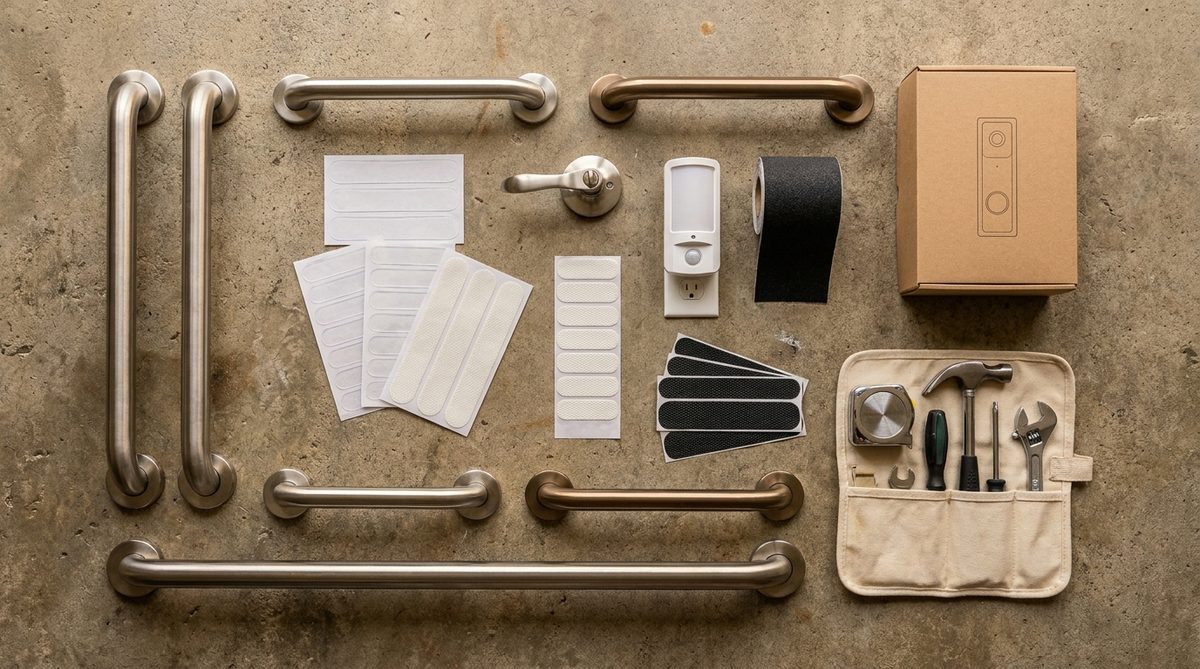
High-Impact Bathroom Modifications
Grab bars (Budget: $30–$80 each, installed): Install them beside the toilet, inside the shower or tub, and at the shower entrance. I cannot overstate this — towel bars are not grab bars. They will pull out of the wall under body weight. Look for ADA-compliant bars rated for at least 250 pounds, anchored into wall studs or with proper toggle bolts for tile walls.
Walk-in shower conversion (Budget: $1,500–$5,000): If your only bathing option is a tub with a high lip, this is the single most valuable renovation you can make. A curbless or low-threshold shower eliminates the step-over that causes thousands of injuries annually. If a full conversion isn’t in the budget yet, a transfer bench ($40–$100) paired with a handheld showerhead ($25–$60) is an excellent interim solution.
Raised toilet seat or comfort-height toilet (Budget: $25–$300): Standard toilets sit at 15 inches. A comfort-height toilet or a bolt-on raised seat brings that to 17–19 inches, dramatically reducing the quad strength required to sit and stand. This one change can extend independent bathroom use by years.
Non-slip flooring (Budget: $50–$200): Apply non-slip adhesive strips in the tub and shower, and consider replacing smooth tile with textured vinyl plank flooring — it’s waterproof, slip-resistant, and far more forgiving on joints than ceramic tile.
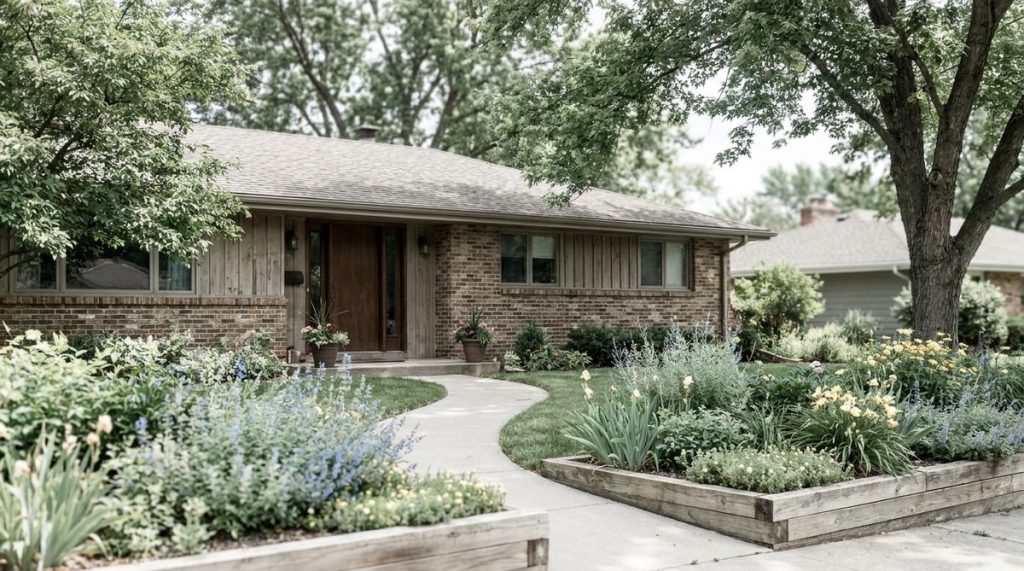
Step 3: Secure Your Entryways and Eliminate Trip Hazards
Your front door is the gateway to independence. If getting in and out of your home becomes difficult or dangerous, everything else — social life, medical appointments, grocery runs — starts to shrink.
Start with lighting. A motion-activated LED porch light ($20–$50) eliminates fumbling with keys in the dark. Replace any standard round doorknobs with lever-style handles ($15–$30 each), which require no grip strength to operate — a critical upgrade for anyone with arthritis.
Walkway and Threshold Fixes
Uneven sidewalk pavers or cracked concrete steps are among the easiest hazards to ignore and among the most likely to cause a fall. Resurfacing a small walkway typically costs $500–$1,200, but you can often address minor unevenness with self-leveling concrete patches for under $50.
Inside, remove every loose throw rug or secure them with industrial-strength double-sided carpet tape. I know — some of those rugs are beautiful, and they’ve been there for 20 years. But in my experience, the rug someone loves most is often the one that sends them to the emergency room. If you can’t part with a rug, at minimum use a rug pad specifically designed for hard floors, and check its adhesion every few months.
Reduce or eliminate thresholds between rooms. Transition strips that create a gentle ramp over height differences cost $10–$30 and take minutes to install.
Step 4: Upgrade Your Lighting Strategically
Aging eyes need two to three times more light than younger eyes to see the same detail. That’s not opinion — it’s a well-documented physiological change described by the National Institute on Aging. Yet most homes I’ve visited during my reporting career are dramatically under-lit for their residents’ actual needs.
Motion-sensor night lights in hallways, bathrooms, and between the bedroom and kitchen cost $8–$15 each and can prevent the most common nighttime falls. Install them at baseboard level so they illuminate the floor without causing glare.
Replace any single overhead light fixtures in key rooms with layered lighting: a ceiling fixture plus under-cabinet or task lighting. In the kitchen, LED strip lights under upper cabinets ($15–$40) transform your countertop visibility. Smart bulbs controlled by voice assistants ($10–$15 per bulb) let you adjust brightness and turn lights on or off without reaching for a switch — especially valuable at night.
Step 5: Make the Kitchen Functional and Safe
The kitchen is where most people spend significant daily time, and it’s also where burns, cuts, and falls from reaching or bending cluster. A few targeted changes go a long way.
Easy Kitchen Modifications
Reorganize storage by frequency of use: Move everyday dishes, glasses, and cooking tools to counter height or the lowest shelf of upper cabinets. Items used weekly go one shelf higher. Rarely used items get top shelves or storage elsewhere. This single reorganization eliminates most kitchen reaching and bending.
Replace cabinet knobs with D-pulls: Larger loop or D-shaped pulls ($2–$5 each) are far easier to grip than small round knobs. This is a Saturday afternoon project with a screwdriver.
Add a pull-out cutting board or prep station: If counter space is limited and you find yourself carrying heavy pots or cutting boards across the kitchen, a pull-out board installed in an existing cabinet ($30–$80) reduces carrying distance and provides a stable work surface at a comfortable height.
Consider an induction cooktop: If you’re replacing a stove anyway, induction burners ($70–$300 for portable units) only heat when a pot is on them, dramatically reducing burn risk. They also cool within seconds of removing the cookware.
Step 6: Create a Sleep-Safe Bedroom
Falls getting out of bed — particularly at night — are devastatingly common and often result in hip fractures. The bedroom deserves more attention than most aging-in-place guides give it.
Your mattress top should be roughly knee height when you stand next to the bed. Too low and you struggle to rise; too high and you risk a fall when sliding off. Adjustable bed frames ($200–$800) solve this while also providing head and foot elevation for acid reflux, circulation issues, or simply reading comfortably.
Place a motion-sensor light under the bed frame or on the nightstand aimed at the floor. The path from bed to bathroom should be completely clear of furniture, cords, and clutter — every night, without exception. If your bedroom is on the second floor and stairs are becoming challenging, now is the time to plan a first-floor bedroom conversion before it becomes urgent.
Step 7: Invest in Technology That Extends Independence
I’ve watched smart home technology evolve from a novelty into a genuine aging-in-place tool over the past decade. Today’s options are affordable, reliable, and remarkably easy to use. For a broader look at what’s available, take a look at 7 Ways Technology Helps Older Adults Stay Independent.
Medical alert systems ($20–$50/month): Modern devices are waterproof, GPS-enabled, and fall-detection capable. Wear one in the shower — that’s exactly when you’re most likely to need it.
Video doorbells ($50–$200): See and speak with visitors without walking to the door. This is also a security measure — and worth considering as digital scams and doorstep fraud targeting seniors continue to rise.
Voice assistants ($25–$50): Amazon Echo or Google Nest devices can set medication reminders, make hands-free phone calls, control lights, lock doors, and call emergency contacts. Place one in the bedroom, one in the kitchen, and one in the living room.
Smart water leak sensors ($15–$30): Place them under sinks and near water heaters. A slow leak can create a dangerously slippery floor long before you notice the water visually.
Step 8: Plan Your Budget Realistically
One of the biggest barriers to setting up your home to age in place is the perception that it costs tens of thousands of dollars. It can — if you’re doing a full kitchen remodel and bathroom addition simultaneously. But a phased approach makes this manageable for almost any budget.
Phase 1: Under $1,500 (Do This Month)
Grab bars, non-slip strips, lever door handles, motion-sensor lights, throw rug removal, cabinet reorganization, a handheld showerhead, and a raised toilet seat. These changes address the most statistically likely injury scenarios and can typically be completed in a single weekend.
Phase 2: $1,500–$5,000 (This Year)
Walk-in shower conversion or tub-to-shower remodel, exterior walkway repairs, smart home devices, improved lighting fixtures, and a first-floor bedroom setup if needed.
Phase 3: $5,000–$20,000+ (Next 1–3 Years)
Wider doorways (for future wheelchair access), stair lift installation, full bathroom remodel, kitchen counter height adjustments, and exterior ramp construction. Some of these costs may be partially covered by Medicaid waiver programs, VA benefits, or state-funded home modification grants — check your eligibility.
What I see most often is people skipping Phase 1 entirely because they’re overwhelmed by Phase 3 pricing. Don’t make that mistake. The $200 you spend on grab bars this weekend could prevent a $40,000 hip fracture surgery. The return on investment isn’t abstract — it’s one of the most concrete financial decisions you’ll ever make. For more on financial planning that affects your retirement, see 6 Retirement Myths for 2026 That Could Cost Seniors Thousands.
Step 9: Get Professional Eyes on Your Plan
After you’ve handled the DIY-friendly items, consider hiring a Certified Aging-in-Place Specialist (CAPS). These professionals — typically contractors, occupational therapists, or interior designers with additional certification through the National Association of Home Builders — can identify structural issues, code requirements, and design solutions you might miss.
A CAPS assessment typically costs $150–$400 and can save you thousands by preventing unnecessary modifications while flagging critical ones. Your local Area Agency on Aging can also connect you with free or low-cost home assessment services in many states.
Step 10: Revisit and Adjust Every Year
Setting up your home to age in place isn’t a one-time project — it’s an ongoing relationship with your living space. Your needs at 55 won’t be your needs at 70 or 82. Schedule an annual walk-through using the same audit checklist from Step 1. Update your modifications as your mobility, vision, or health conditions evolve.
In my 16 years covering this space, the people who age most successfully at home share one trait: they plan proactively rather than reactively. They install the grab bar before the fall. They widen the doorway before the wheelchair. They move the bedroom downstairs before the stairs become impossible.
That proactive mindset — more than any single product or renovation — is what truly makes aging in place work. Your home has been your sanctuary for years, maybe decades. With the right modifications, it can remain exactly that for decades to come.
About Jennifer Adams, 16 Years in Lifestyle Journalism
Jennifer Adams is a lifestyle journalist with 16 years of experience writing about travel, hobbies, relationships, home life, and the art of aging well. She has contributed to national publications focused on the interests and aspirations of adults over 50 — from budget-friendly travel destinations to rediscovering hobbies in retirement. At Daily Trends Now, Jennifer writes warm, practical articles that celebrate life after 50 and help readers make the most of every chapter.