

The Stat That Should Change How You Think About Aging at Home
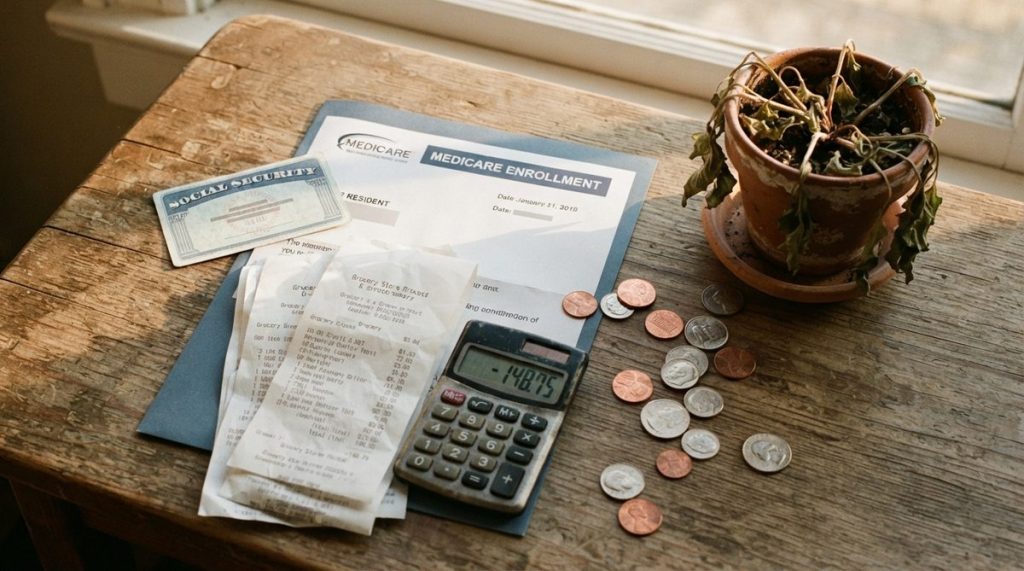
Here’s a number that still surprises people when I share it: 90% of adults over 65 say they want to remain in their current home as they age, according to AARP‘s 2024 Home and Community Preferences Survey. Yet fewer than 10% of American homes have the three basic accessibility features — a no-step entry, single-floor living, and an accessible bathroom — needed to support safe aging in place.
That gap between desire and reality is staggering. And in my 14 years as a Certified Aging-in-Place Specialist, I’ve watched families assume the only solutions involve $40,000 renovations or moving into assisted living. Neither is true for most people.
What I see most often is that the modifications making the biggest difference in fall prevention, daily independence, and long-term safety cost surprisingly little — frequently under $1,500 total when you prioritize correctly. This deep-dive breaks down exactly where that money should go, room by room, backed by data and the patterns I’ve observed across hundreds of home assessments.
Why the “Wait and See” Approach Is the Most Expensive Strategy
The Centers for Disease Control reports that one in four Americans aged 65 and older falls each year. In 2020, falls among older adults cost approximately $50 billion in medical spending. The average hospital bill for a fall-related hip fracture exceeds $30,000, and roughly 20% of hip fracture patients end up in nursing facilities within a year.
Compare that to the cost of the grab bar that could have prevented the fall: about $25 to $50 for the hardware, plus $100 to $200 for professional installation. The math isn’t subtle.
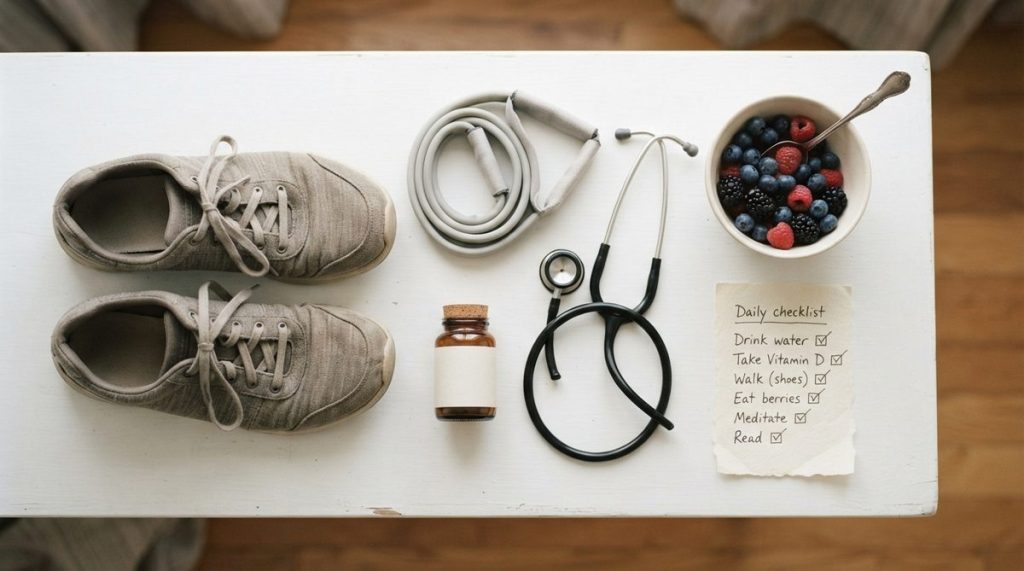
I often tell my clients that the cheapest modification is the one you install before the accident. Every week you wait, you’re essentially gambling those odds. The modifications I’m about to outline aren’t cosmetic upgrades — they’re strategic interventions designed to prevent the cascading health events that force people out of their homes permanently.
If you’ve been operating under the assumption that aging in place requires massive spending, I’d encourage you to read Aging in Place Myths: 8 Beliefs That Could Cost You Big for a broader look at the misconceptions that hold people back.
The $1,500 Aging-in-Place Budget: Where Every Dollar Should Go
After evaluating hundreds of homes for clients between ages 55 and 85, I’ve developed a prioritization framework. Not every home needs every modification, but this allocation reflects where the highest-impact safety improvements consistently fall.
Budget Breakdown by Priority Zone
Based on my field assessments, here’s how I recommend distributing a $1,500 budget across the home:
- Bathroom (40-45% of budget: $600–$675) — The single most dangerous room. This is non-negotiable as the starting point.
- Lighting and visibility improvements (15-20%: $225–$300) — Dramatically underestimated by most homeowners.
- Flooring and trip hazard elimination (10-15%: $150–$225) — Low cost, enormous payoff.
- Entryways and thresholds (10-15%: $150–$225) — Getting in and out safely matters as much as what’s inside.
- Kitchen modifications (5-10%: $75–$150) — Targeted tweaks, not a remodel.
- Contingency and smart tech (5-10%: $75–$150) — Small devices that create big safety nets.
Let me walk through each zone with specific products, price ranges, and installation notes.
Zone 1: The Bathroom — Your Highest-Risk, Highest-Return Investment
The National Council on Aging identifies the bathroom as the location of over 80% of in-home falls among older adults. Wet surfaces, awkward transitions in and out of tubs, and poor grab points create a perfect storm of risk factors.
Essential Bathroom Modifications
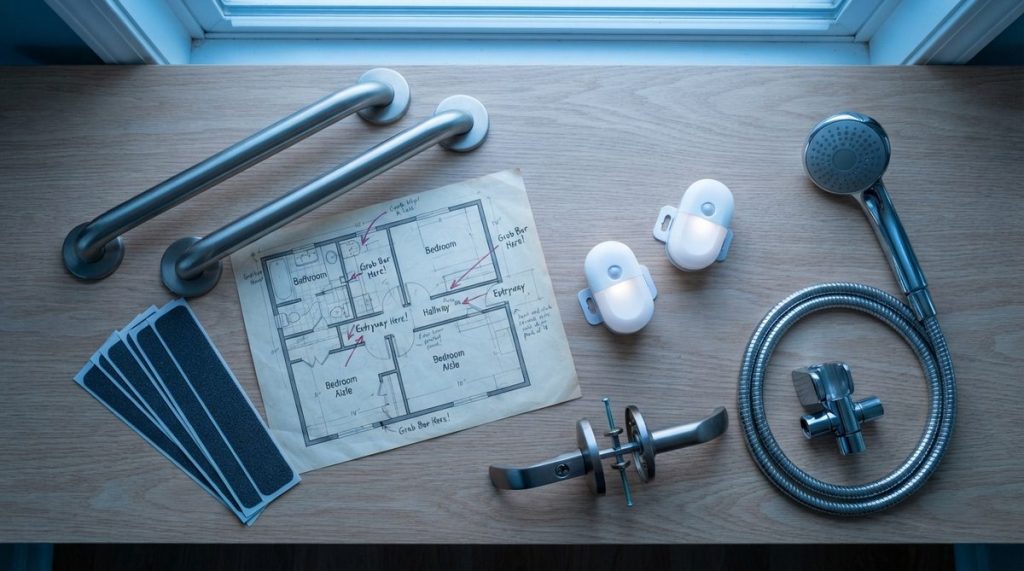
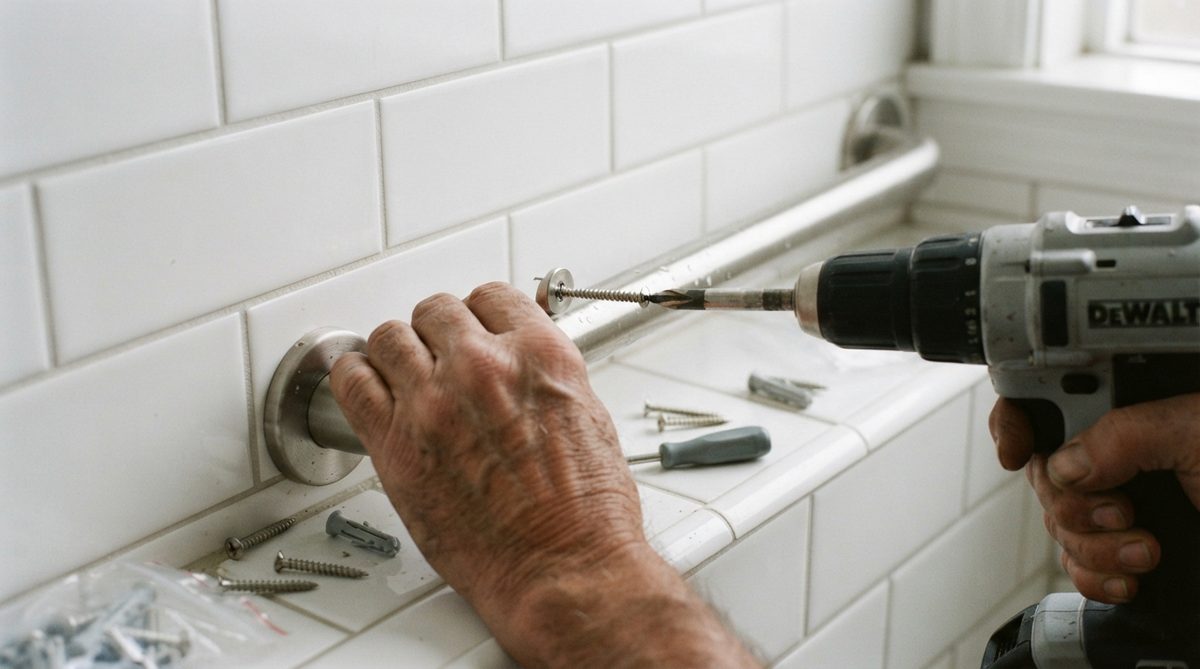
- Install grab bars at the toilet and in the shower/tub. Budget $150–$300 for three to four bars including professional installation. I specifically recommend 16-inch and 24-inch stainless steel bars rated for 500 pounds. Suction-cup bars are not a substitute — I’ve seen them fail under real-world conditions, and I won’t recommend them.
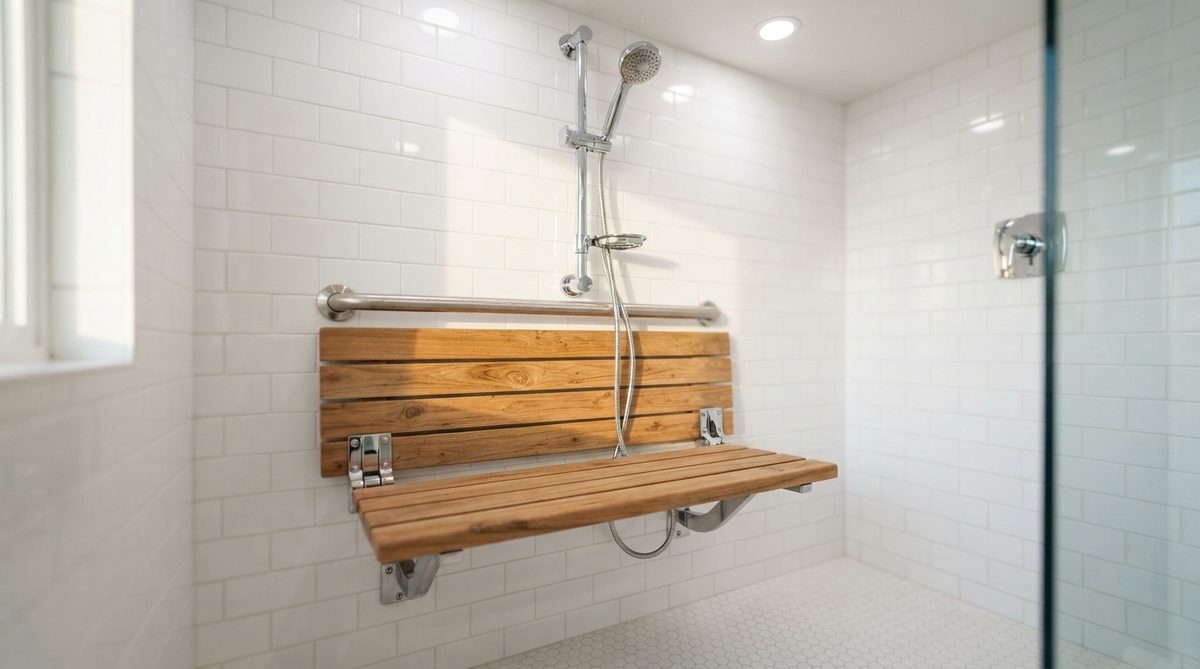
- Add a handheld showerhead on an adjustable slide bar. Cost: $30–$75. This single swap lets you shower seated, reduces reaching, and cuts the need to step across a slippery tub floor. Most handheld units connect to existing plumbing in under 20 minutes.
- Place a shower chair or transfer bench. Cost: $40–$120. For tub-shower combos, a transfer bench with a backrest allows you to sit on the bench outside the tub and slide inward. This eliminates the dangerous leg-over-the-side maneuver that I’ve identified as the single riskiest daily movement in dozens of home assessments.
- Install a raised toilet seat or toilet safety frame. Cost: $30–$80. Standard toilets sit at 15 inches. Adding 3–4 inches reduces the knee-bend required and makes standing significantly easier for anyone with hip, knee, or balance issues.
- Apply non-slip adhesive strips or mats inside the tub and on the bathroom floor. Cost: $15–$30. Replace these annually — adhesive degrades with soap residue and moisture.
Total bathroom zone: approximately $265–$605, depending on how many grab bars you install and whether you hire out or DIY.
Zone 2: Lighting — The Modification People Overlook Until It’s Too Late
Age-related vision changes are gradual, which is precisely why they’re dangerous. By age 60, the average person needs three times more light than a 20-year-old to see the same details. By age 80, that multiplier jumps further. Yet most homes are lit for younger eyes.
A Strategic Lighting Upgrade Plan
I recommend a three-layer approach that costs between $150 and $300 total:
- LED motion-sensor nightlights in hallways, bathrooms, and bedrooms. Cost: $20–$50 for a pack of four to six. These activate automatically during nighttime trips to the bathroom — the window when roughly 50% of home falls occur.
- Swap all bulbs to 3000K–4000K LED bulbs rated at 800+ lumens. Cost: $30–$60 for a household set. This color temperature provides bright, clear illumination without the harsh glare of 5000K+ “daylight” bulbs, which can actually worsen contrast sensitivity in aging eyes.
- Add under-cabinet LED strip lighting in the kitchen. Cost: $20–$40. Adhesive-backed strips illuminate countertops where most knife work and food prep happens. Shadow reduction is directly linked to fewer cuts and burns.
- Install illuminated light switch covers or rocker-style switches. Cost: $15–$30. Finding the switch in a dark room becomes harder with reduced vision and fine motor changes. Glow-in-the-dark or backlit covers solve this for pennies.
- Add a lamp with a touch-base or voice-activated control to the bedroom. Cost: $25–$50. Eliminates fumbling for small switch knobs during nighttime wake-ups.
This layer of protection is invisible, inexpensive, and remarkably effective. Proper lighting alone reduces fall risk by up to 50% according to research published by the National Institute on Aging.
Zone 3: Flooring and Trip Hazard Elimination
Trip-and-fall incidents inside the home are frequently caused by hazards that cost almost nothing to fix. In my assessments, I find an average of six to eight trip hazards per home — most of which the homeowner has walked past daily for years without recognizing the risk.
Common Culprits and Fixes
- Loose throw rugs: Remove them entirely, or secure them with industrial-grade double-sided carpet tape ($8–$15 per roll). Honestly, I recommend removing them. No tape is as safe as a clear floor.
- Raised thresholds between rooms: Install beveled threshold ramps ($15–$40 each). These small rubber or aluminum wedges eliminate the half-inch to one-inch lip that catches shuffling feet.
- Electrical cords crossing walkways: Use cord covers ($10–$20) or reroute cords along baseboards with adhesive clips ($5–$10).
- Worn carpet edges or curling vinyl: Re-secure with carpet tack strips or vinyl adhesive ($20–$50 depending on area).
Total investment: $50–$135. Time required: one afternoon. Impact: eliminates the most common mechanical cause of in-home falls.
Maintaining your physical health also plays a critical role in fall prevention. For seasonal wellness strategies, check out 7 Spring Health Tips for Seniors to Thrive in 2026.
Zone 4: Entryways, Stairs, and Thresholds
Getting in and out of the house safely is the gateway to independence. A single step at the front door without a railing is, statistically, one of the most underestimated dangers I encounter.
Key Entry Modifications
- Add handrails to any exterior steps. Cost: $50–$150 per railing, installed. Even a single step benefits from a sturdy rail. I specify aluminum or powder-coated steel rated for outdoor weather exposure.
- Install a outdoor motion-sensor light at each entry. Cost: $25–$60 per fixture. Arriving home after dark without adequate lighting is a recurring scenario in fall injury reports.
- Replace round doorknobs with lever-style handles. Cost: $15–$30 per handle. Lever handles require zero grip strength — critical for anyone with arthritis, neuropathy, or post-stroke weakness. Swapping three to four key doors costs $60–$120 total.
- Add a rubber threshold ramp at the front door if there’s a raised lip. Cost: $25–$50.
Total entryway investment: $150–$380, though most homes need only two or three of these modifications.
Zone 5: Kitchen — Targeted Tweaks, Not a Renovation
You don’t need new cabinets. You need better access to what’s already in them.
- Relocate daily-use items to counter-height or lower shelves. Cost: $0. This is pure reorganization. Reaching overhead is a fall and strain risk that’s entirely avoidable.
- Install pull-down shelf hardware in one or two upper cabinets. Cost: $25–$60 per unit. These spring-loaded racks bring shelf contents down to you.
- Add a rubber anti-fatigue mat in front of the sink and stove. Cost: $20–$40. Reduces leg fatigue during extended standing and provides cushion in case of a fall.
- Replace standard faucet handles with lever or single-handle models. Cost: $30–$80. Same principle as door handles — reduce the grip and twist requirements.
Total kitchen zone: $75–$180. These are the modifications that my clients report making the biggest quality-of-life difference in daily routines.
Zone 6: Smart Tech and Emergency Preparedness
This final slice of the budget creates a safety net that works when you can’t.
- A medical alert device or personal emergency response system (PERS). Many offer no-contract options for $25–$35/month. Some standalone devices cost $50–$100 upfront with no monthly fee but call pre-set contacts instead of a monitoring center.
- Smart plugs and voice-activated assistants. Cost: $25–$50 for a starter setup. Controlling lights, thermostats, and appliances by voice reduces the need for physical movement to switches and controls — particularly valuable during recovery from illness or surgery.
- A lockbox with a house key for emergency responders. Cost: $15–$30. Paramedics breaking down your door adds chaos, cost, and time. A realtor-style lockbox on the front door handle, with the code shared with your emergency contacts, is a simple fix.
If you’re exploring ways to protect your finances alongside your physical safety, Inflation Draining Retirement Savings: A CPA’s Survival Plan offers strategies worth reading.
What About Professional Home Assessments?
A formal aging-in-place assessment from a CAPS-certified professional typically runs $150 to $400, depending on your market and the depth of the report. Some occupational therapists offer home safety evaluations that may be covered under Medicare Part B with a physician’s referral.
I consider this money well spent for anyone over 65 or anyone with a chronic condition affecting mobility or vision. A trained eye catches hazards you’ve normalized — the slightly loose carpet, the bathroom door that swings the wrong direction, the bed height that’s three inches too low for safe transfers.
That said, if budget is the primary constraint, the room-by-room framework above covers 80–90% of what I’d recommend during a standard assessment for a single-story home without major structural issues.
The Real Cost of Not Acting
Let me put the numbers side by side one final time. The full modification plan outlined above — bathrooms, lighting, flooring, entries, kitchen, and tech — totals between $690 and $1,470 depending on your home’s specific needs and whether you hire installation help.
A single fall-related emergency room visit averages $3,500 without hospitalization. A hip fracture requiring surgery averages $30,000 to $60,000. A year in assisted living averages $54,000 nationally, according to the 2023 Genworth Cost of Care Survey.
The decision to set up your home to age in place for under $1,500 isn’t a home improvement project. It’s a financial and medical strategy that pays for itself the first time it prevents a fall, an ER trip, or a forced move into facility care.
Where to Start This Weekend
If you’re reading this and feeling motivated but unsure where to begin, here’s my recommended sequence based on impact and ease of implementation:
- Walk every room with a notebook. Count throw rugs, check all light bulbs, test every grab point you currently use (towel bars are not grab bars — they will pull out of drywall under load).
- Start with the bathroom. Order two to three grab bars and a handheld showerhead. If you’re not comfortable with installation, most handyman services charge $75–$150 to install several bars in a single visit.
- Address lighting the same week. Swap bulbs and install motion-sensor nightlights. This requires zero tools and takes under an hour.
- Remove or secure all throw rugs. Today. Right now, if possible.
- Tackle entry points and kitchen modifications on week two. Schedule a handyman for lever handles and outdoor railings if needed.
- Set up your emergency safety net — medical alert, lockbox, emergency contact list posted on the refrigerator — by week three.
Aging in place isn’t about making your home feel like a hospital. It’s about making smart, affordable modifications that let your home work with your body as it changes. In my experience, the clients who thrive at home long-term aren’t the ones with the biggest budgets — they’re the ones who acted early, prioritized correctly, and refused to gamble on “it won’t happen to me.”
For $1,500 or less, you can join them.
About Marcus Bell, Certified Aging-in-Place Specialist (CAPS)
Marcus Bell is a Certified Aging-in-Place Specialist (CAPS) with 14 years of experience helping American seniors create safer, more comfortable living environments. He has consulted on hundreds of home modifications — from bathroom safety upgrades to smart home installations — and writes extensively about the products, services, and strategies that help older adults live independently for longer. At Daily Trends Now, Marcus covers home improvement, aging-in-place solutions, gardening, and practical lifestyle tips for seniors.